Adding a printer to your Windows 10 laptop or desktop these days is user-friendly and requires little-to-no technical knowledge. You can add a printer via USB, your wireless network, or Bluetooth. Here’s how to add a printer in Windows 10, depending on what kind of connection you want to use.
How to Add a Printer in Windows 10 Via Wi-Fi
If your network-capable printer is not automatically detected by Windows, you will need to set it up manually. This will involve going to your printer menu, configuring a TCP/IP a port, and installing the drivers. Follow the steps below to add a network printer in Windows 10.
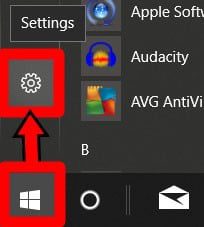
- Open the Windows Start menu. This is the button in the bottom left corner of your screen that is shaped like the Windows logo.
- Then click to Settings. This is the gear-shaped icon just above the power button in the Start menu.
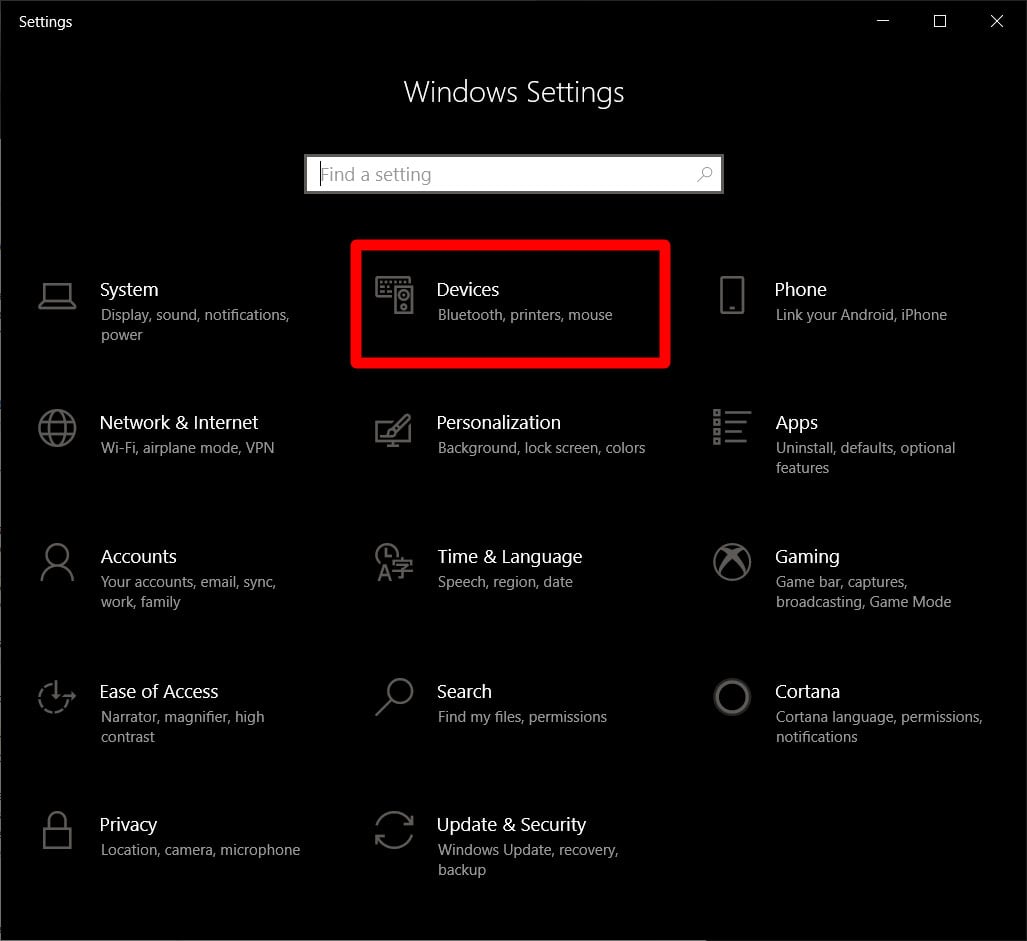
- Then click on Devices.
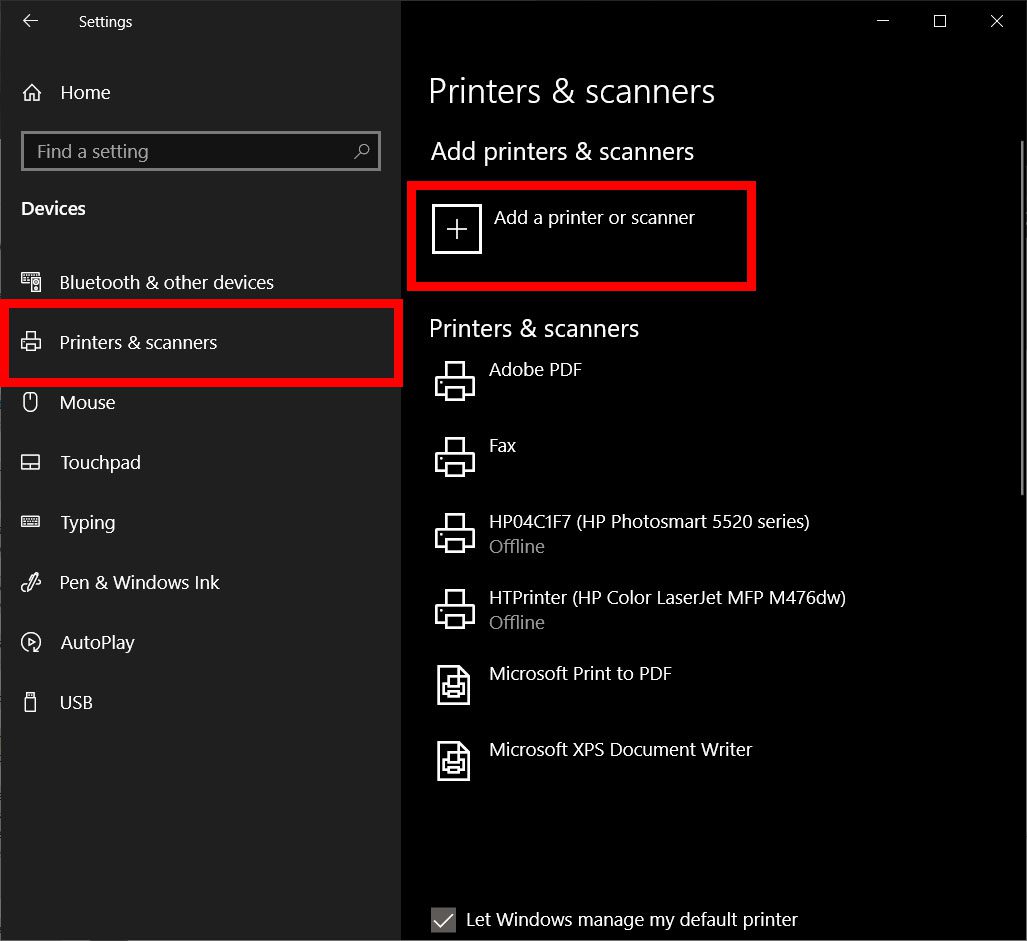
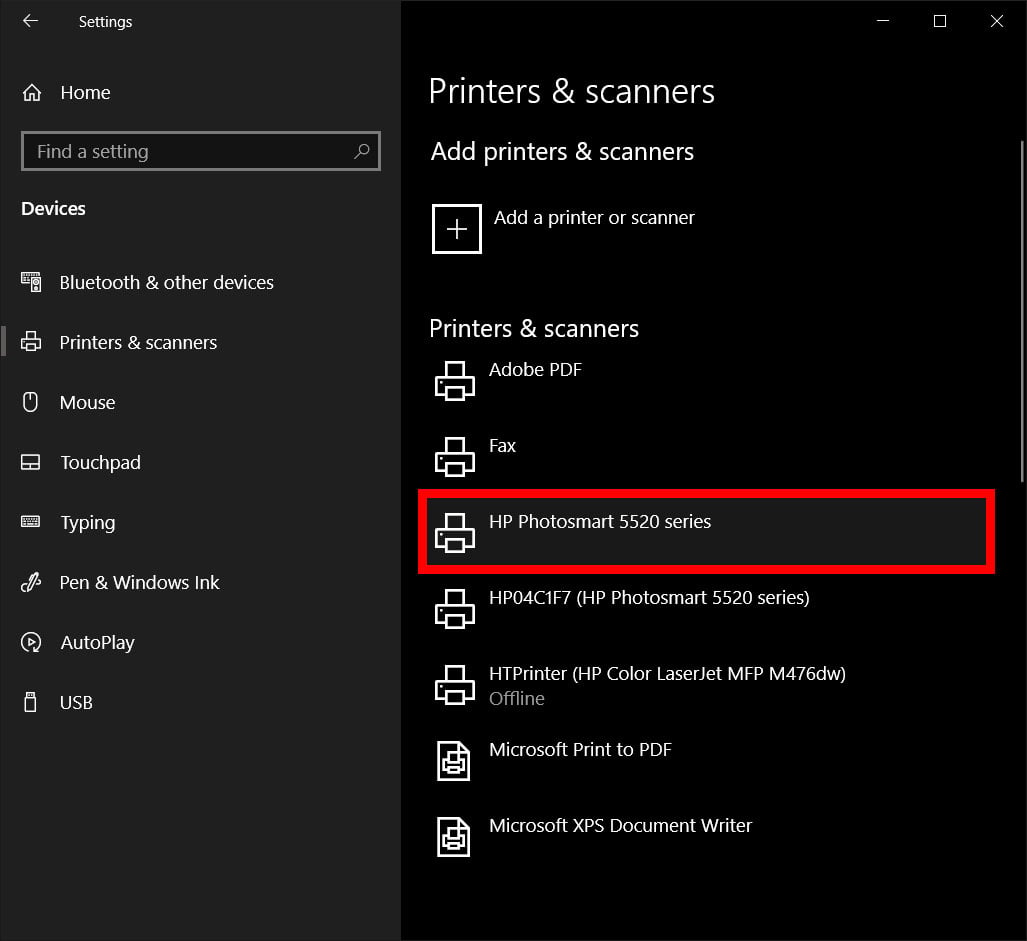
- Next, select Printers & Scanners. You can find this in the left sidebar.
- Then click Add a Printer.
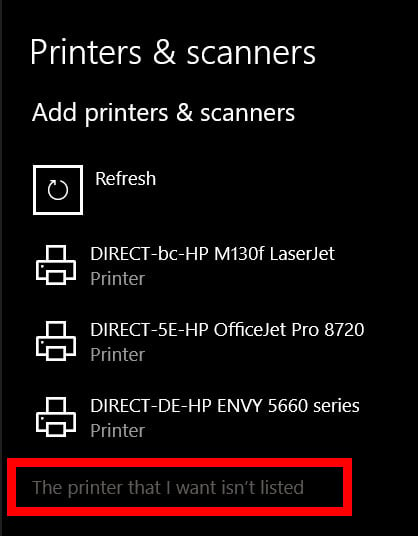
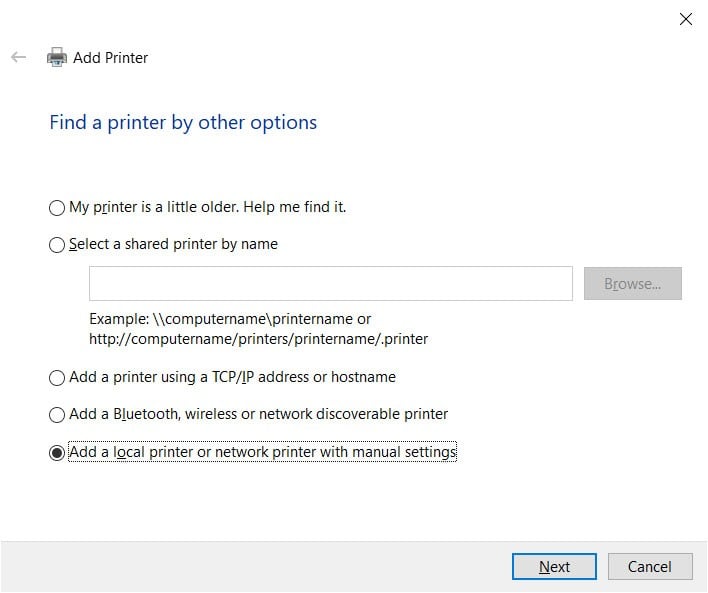
- Click “The printer that I want isn’t listed.” Once you select this, the “Add Printer” screen will pop up.
- Choose “Add a local printer or network printer with manual settings,” and click next.
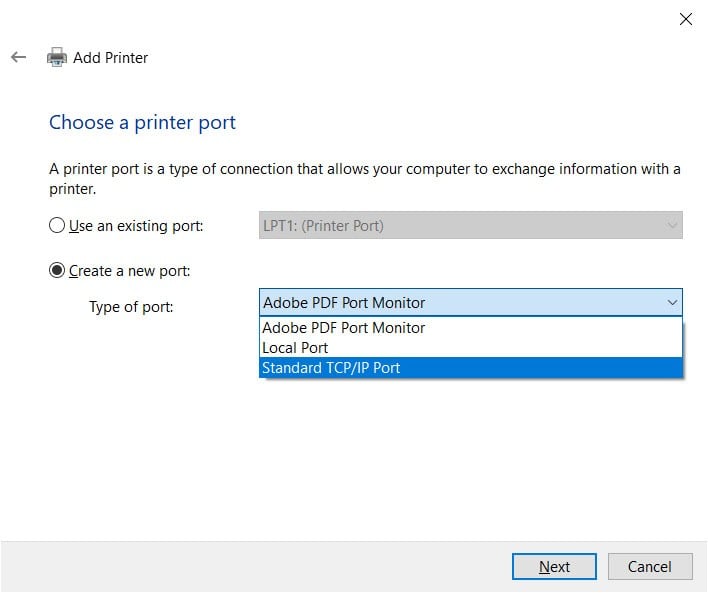
- Click on “Create a New Port” and select Standard TCP/IP from the drop-down box.
- Type in your printer’s IP address and click next. At this point, your computer will try to detect the TCP/IP port. This might take some time.
- Select the appropriate device type. In the drop-down menu for Standard Device Type, select the device type that corresponds with your printer brand. For example, if you have a Canon printer, choose either Canon Network Printer or Canon Network Printing Device. Windows will then detect the driver model. You will notice that once it detects the driver, your printer will be added to the list of devices in the Printer & Scanners menu.
- Install the print driver. Choose your printer manufacturer on the left-hand side column and the driver for your printer model in the right-hand side column. Click on Next.
- Select “Use the driver that is currently installed (recommended)” and click next.
- Set up optional preferences. Type a printer name if you want to. Otherwise, click Next. In the next window, you could also set up set up printer sharing if you like. Once done, click on Next.
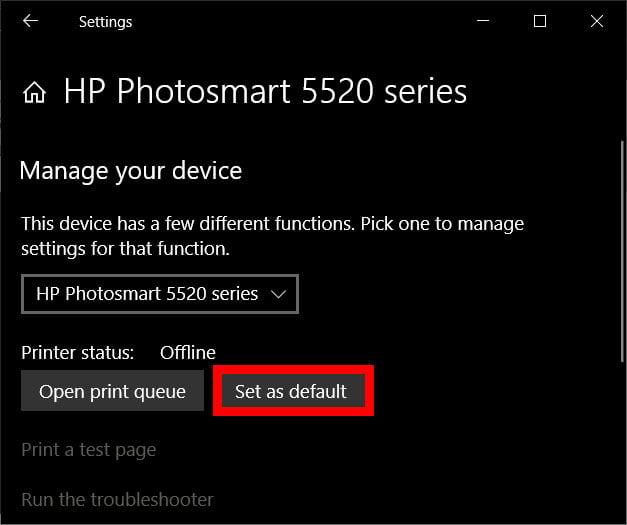
- Print a test page. You will get a message that you have successfully set up the printer. From here, you can print a test page or click on Finish.
How to Add a Printer Via USB in Windows 10
Note: Before setting up your printer, make sure it is connected to a power source and that your computer is connected to the internet so you can download the necessary drivers.
- Connect your printer and computer with a USB cable. Plug one end of your printer’s USB cord into the USB outlet of your computer.
- Follow the on-screen installation steps. Windows will automatically detect your printer and take you through the steps of installing the print driver.
- Check if your printer was successfully set up. To do this, click the Start button that is shaped like the Windows logo in the bottom-left corner of your screen. Then navigate to Settings > Devices > Printers & Scanners. Alternatively, you can do this under the Control Panel. Just go to Hardware and Sound> Devices and Printers.
If you have set it correctly, you should be able to see the printer in the list of printers. You can then print a test page to confirm that the set-up is complete.
How to add Bluetooth Printer
Adding a Bluetooth printer requires that you pair the device like you would pair any other Bluetooth device. You should also check that the communication port or COM port that appears on Windows is the same as the one on the print driver. Here’s how to connect your Bluetooth printer in Windows 10.
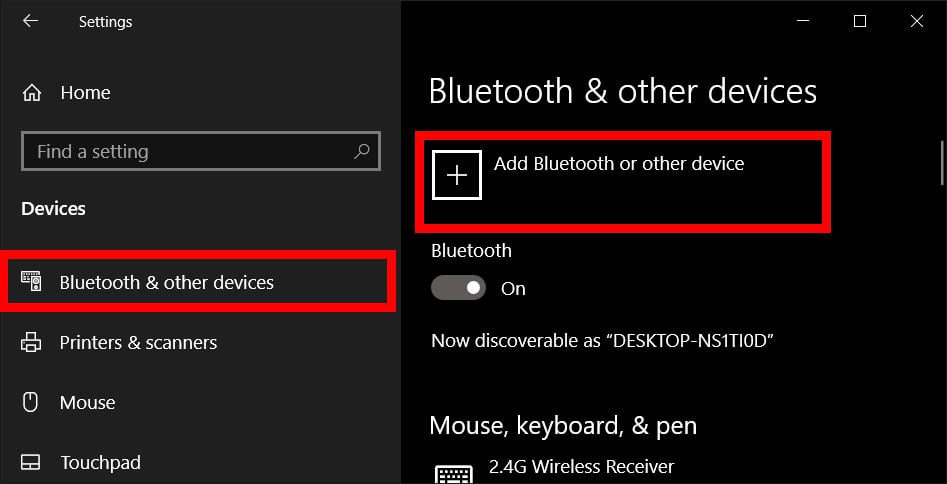
- Go to Start > Settings > Bluetooth and Other Devices. Make sure to toggle on the switch for Bluetooth.
- Click “Add Bluetooth or other device.”
- Then select Bluetooth as the kind of device to add. Windows will show you a list of Bluetooth devices it has detected. Select your Bluetooth printer from the list by clicking on Ready to Pair.
- Pair your computer and printer. Some devices will pair automatically if your printer does not require a PIN. Otherwise, enter the PIN for your Bluetooth printer on your computer when prompted. Click Connect. If your printer has a user display, you might also be asked to enter a PIN on the printer. Follow the on-screen instructions on both devices to confirm the connection.
- Check the COM Port in Device Manager. Go to Control Panel > Hardware and Sound > Devices & Printers. Right click on the Bluetooth printer and select Properties. In the Services tab, you could see the COM port used by the printer.
- Install the print driver with the matching COM Port. Follow the on-screen instructions for setting up your print driver. In the Ports tab of the printer’s driver installation window, make sure that the port in Windows Device Manager is the same one you set up with the print driver. If you have COM3 in Device Manager for instance, check the tick box for COM3 during installation.
- Print a test page. Ensure that your printer is connected by printing a test page.
