If you’ve ever had problems connecting to your printer, it might help to set it to a static IP address. By default, most printers use a dynamic IP address, which changes from time to time. This can make it hard to connect to your printer, especially when you make changes to your network. Plus, assigning a printer to a static IP address can help you organize your network, which is helpful if you have lots of devices connected to the same network. Here’s how to change your printer’s IP address on a Mac and a Windows 10 PC.
How to Change Your Printer’s IP Address on a Windows 10 PC
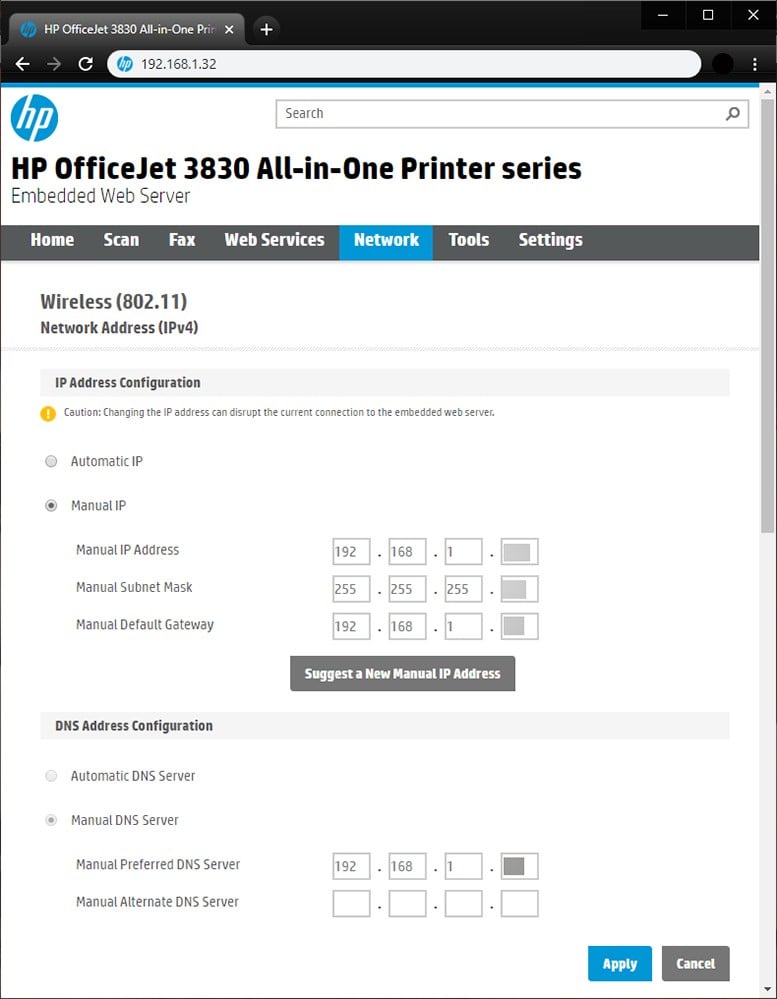
To change your printer IP address, type its current IP address into the address bar of a web browser. Then go to the Settings or Network page and change your printer’s network to a static/manual IP address. Finally, type in the new IP address.
Note: These steps might be different depending on the kind of printer you have.
- Type your printer’s IP address into the address bar of any web browser. You can find your printer’s current IP address on the printer’s display. If your printer doesn’t have a display screen, check out our guide on how to find your printer’s IP address here.
- Enter your printer’s username and password if prompted. If you didn’t set a password for your printer, you can try using “admin” as the Username box and leave the Password box blank.
- Go to your printer’s Settings/Network page.
- Select IP Address Configuration. You can also look for TCP/IP or IP Configuration within the page.
- Change your network from Automatic/Dynamic to Static/Manual IP.
- Type in the IP address you want to use for your printer. Now, when the printer is connected to your computer, it will automatically be assigned to this IP address.
- Save your current settings and close the browser.
How to Change Your Printer’s IP Address on Mac
To change your printer’s IP address on a Mac, go to System Preferences > Printers & Scanners. Then click Options & Supplies and type in a new IP address in the box next to Location.
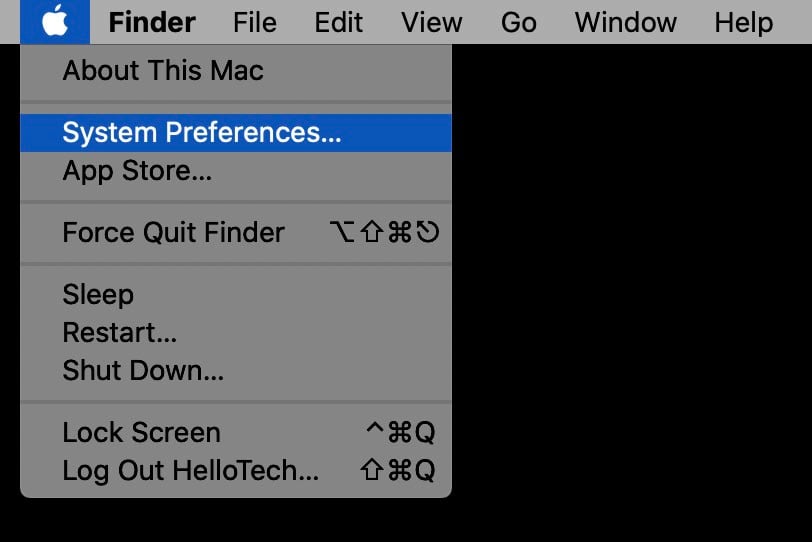
- Click the Apple icon in the top-left corner of your screen.
- Then select System Preferences.
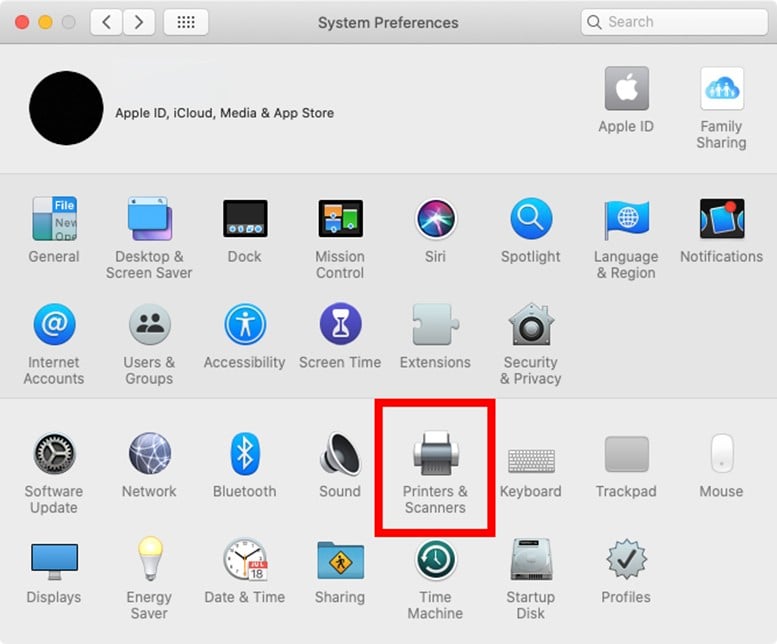
- Next, click Printers & Scanners.
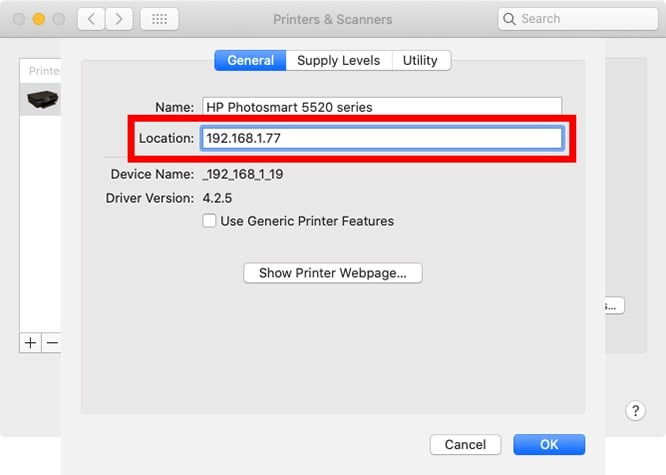
- Then click Options & Supplies.
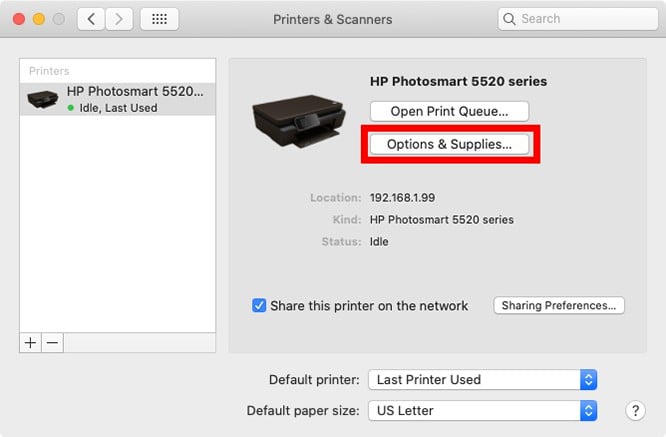
- Finally, change your printer’s IP address in the box next to Location and click OK.
If your printer is still causing you problems, check out our list of the best printers of 2020 here.
