If you install a smart garage door opener, you’ll never forget to close the garage again. Plus, you can have your Amazon deliveries dropped off in your garage, so you don’t have to worry about them being stolen. Here’s how to install the Chamberlain myQ smart garage door opener.
How to Install the myQ Garage Door Opener App
- Download the myQ Garage and Access Control App. You can find the app on the Apple App Store (for iPhone) or Google Play Store (for Android).
- Open the myQ app and sign-up for an account. You need to enter a username, password, email address., country, and zip code.
- When you’re done, click “submit.”

- Use your smartphone to check your email for a message from myQ.
- Then click the link in the email that says Click here to complete registration. A link in the email should take you back to the myQ app. If you don’t see the email, be sure to check your spam folder.

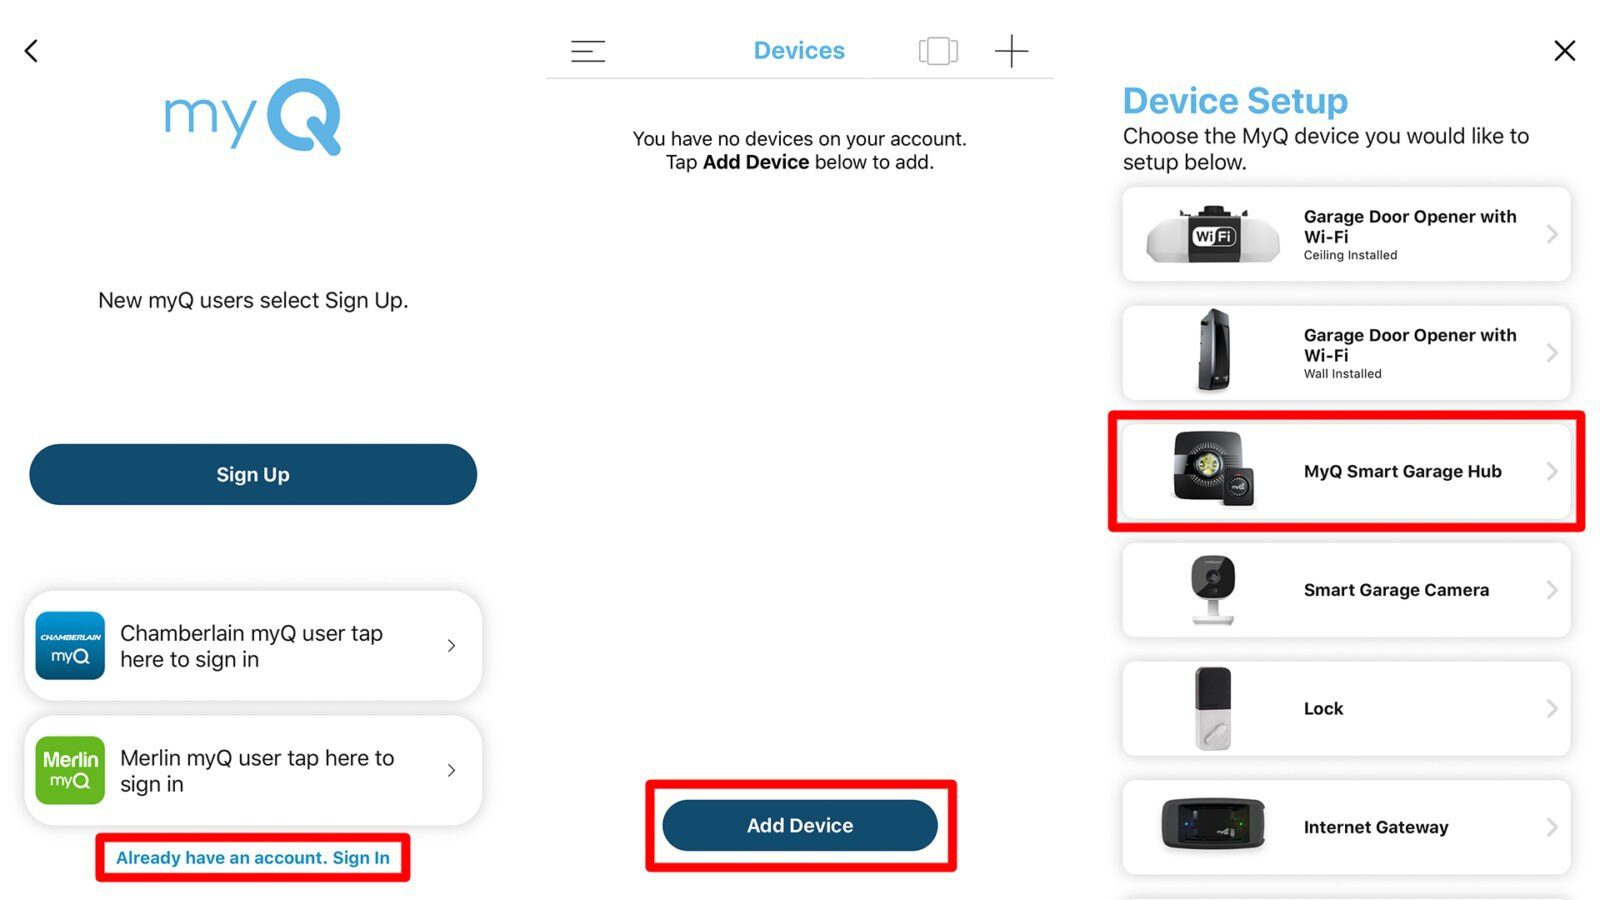
- Log into the myQ app with your new username and password.
- Then tap Add Device.
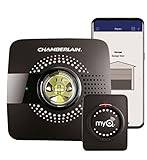
- Finally, select MyQ Smart Garage Hub from the list of devices.
How to Connect the myQ Hub to Your Phone
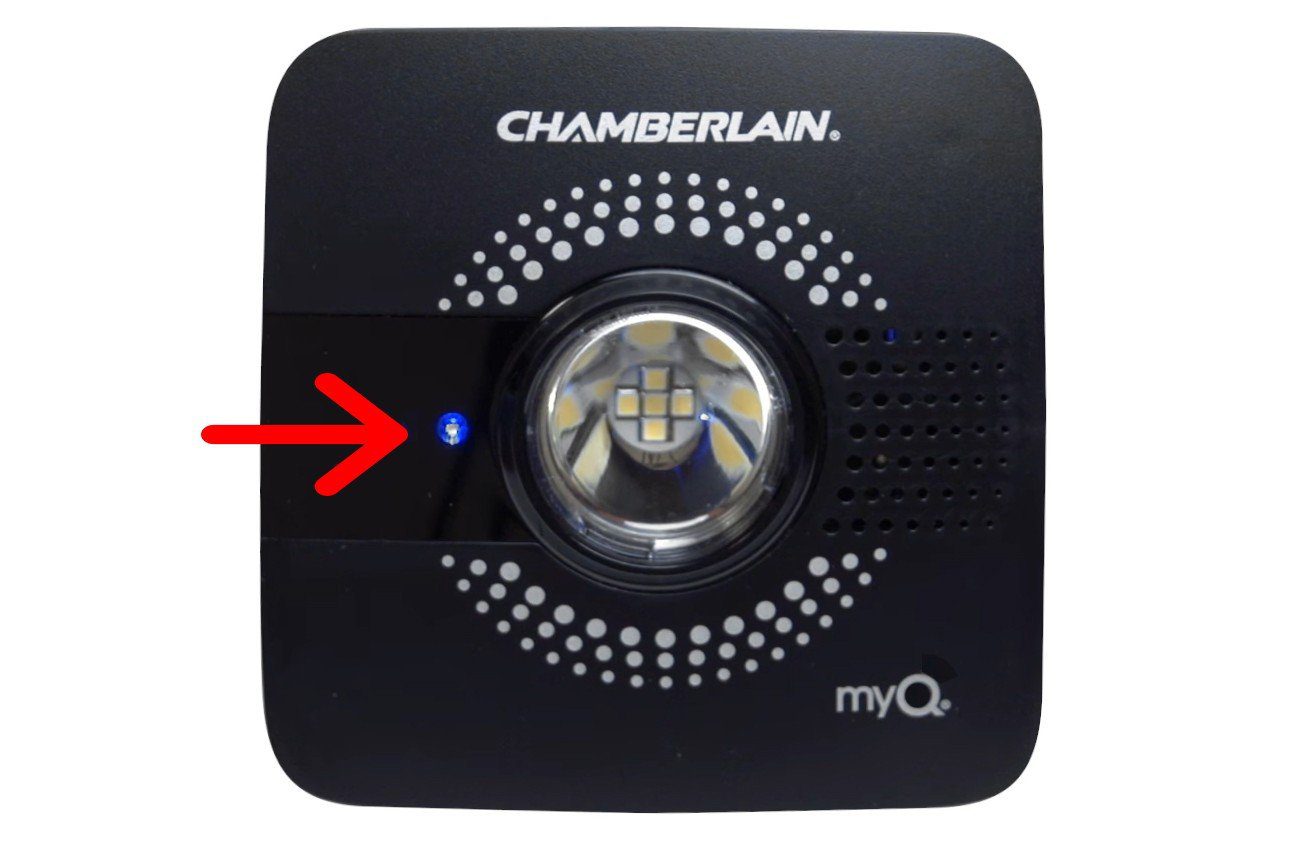
- Plug the hub into a temporary outlet. A blinking blue light will appear on the front of the hub.
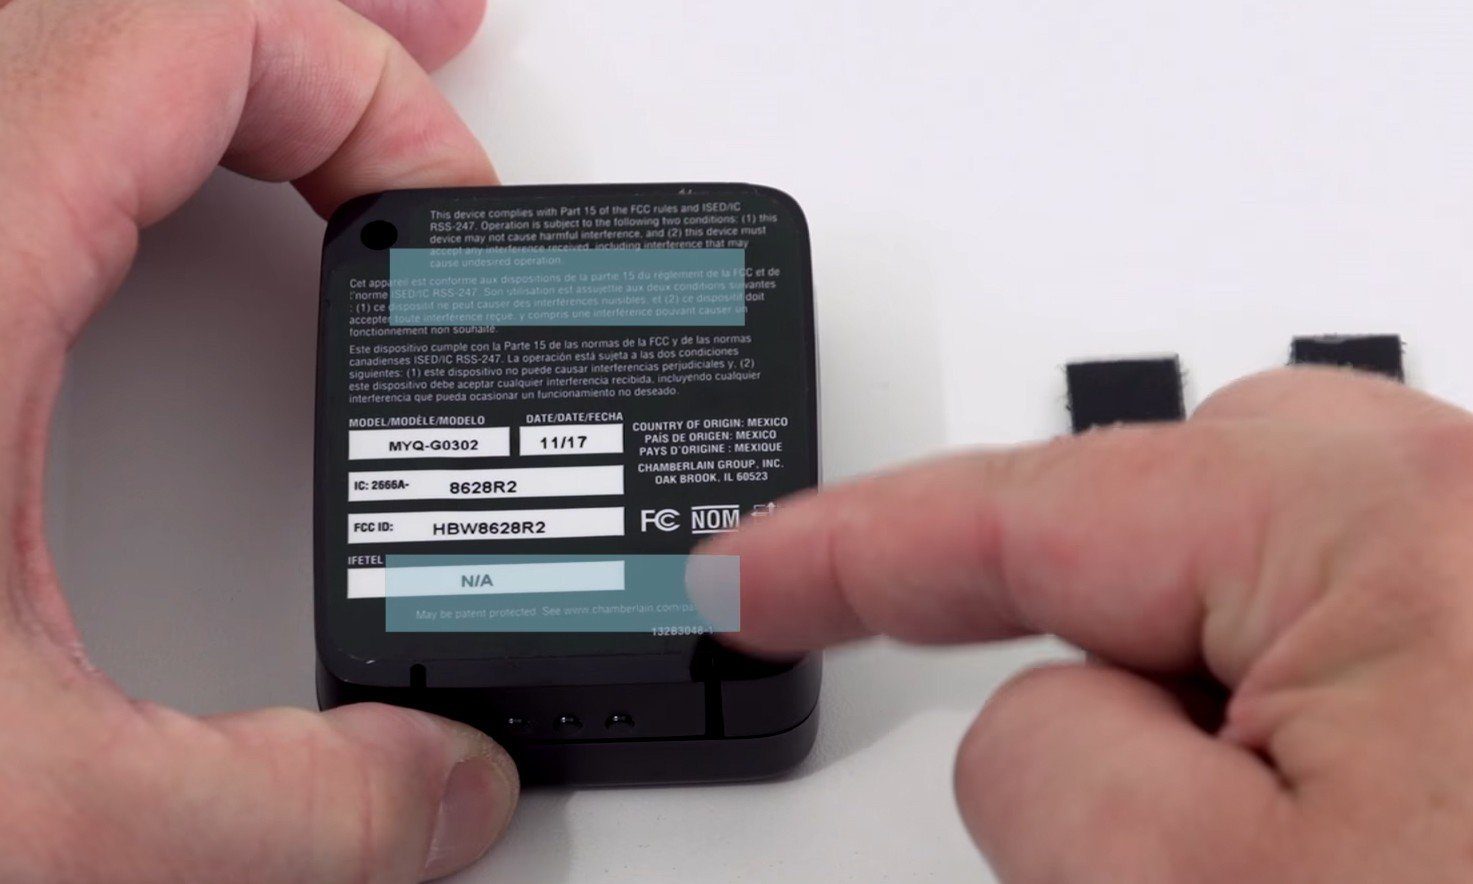
- Use the app to pair your phone with the hub. If you’re an iPhone user, you can scan the hub’s serial number, located at the back of the hub. Or you can enter it manually by tapping the Enter Serial Number Manually button at the bottom of your screen.
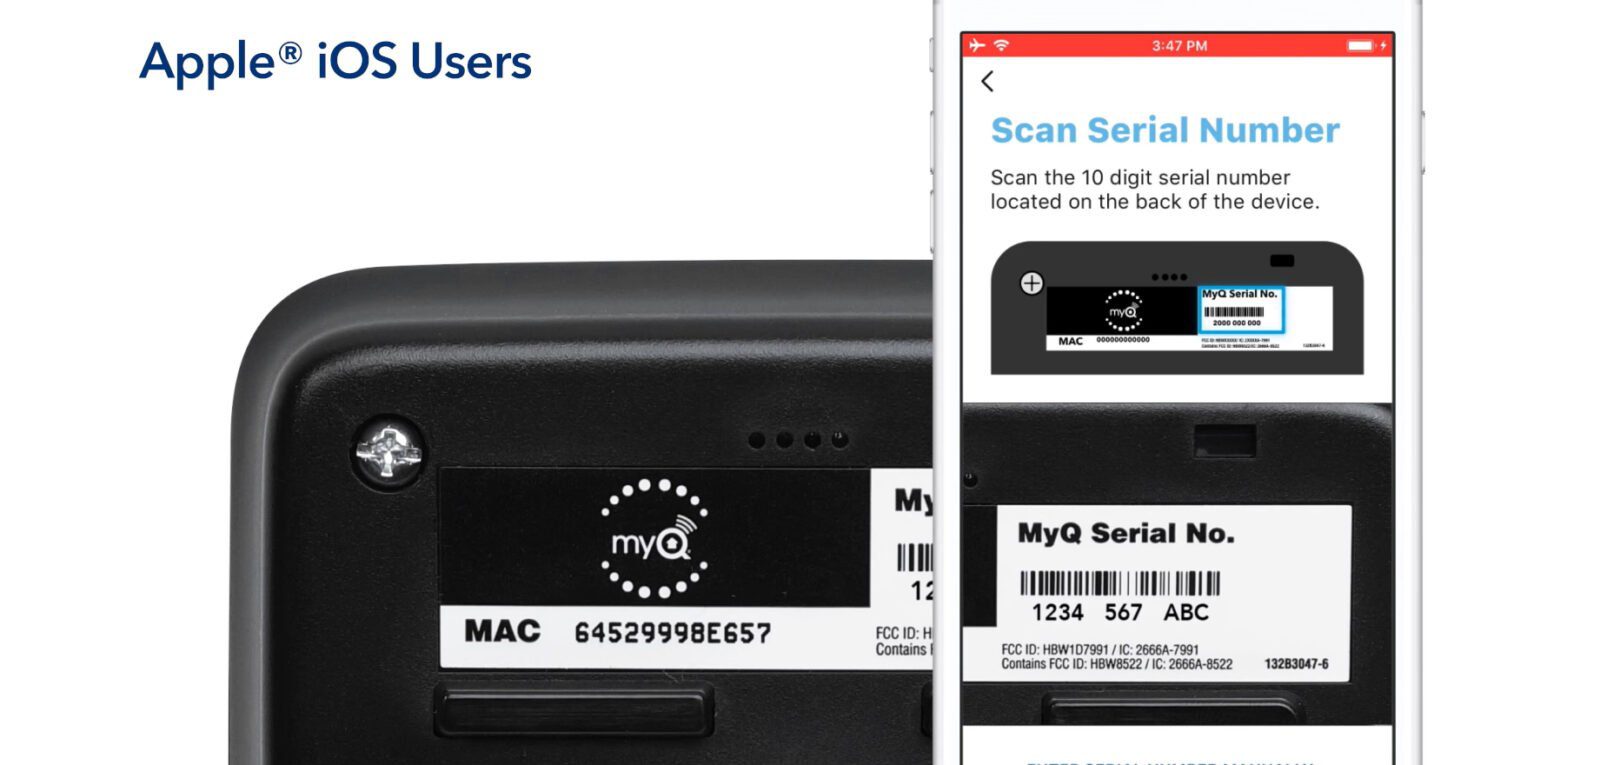
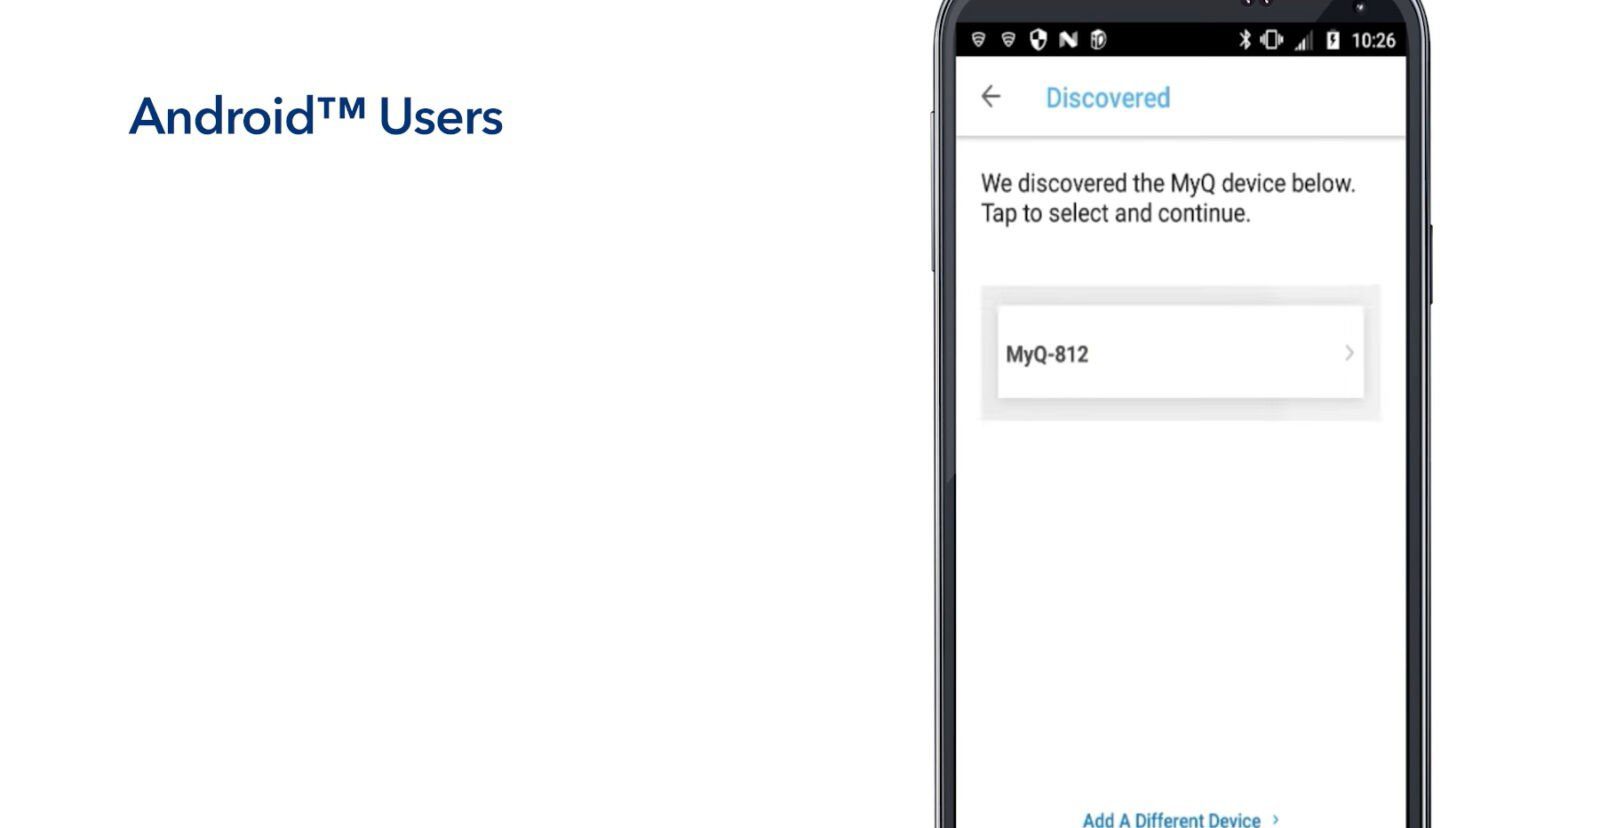
If you’re an Android user, all you have to do is tap the hub’s name when it shows up as a discovered device. This will be something like MyQ-123.
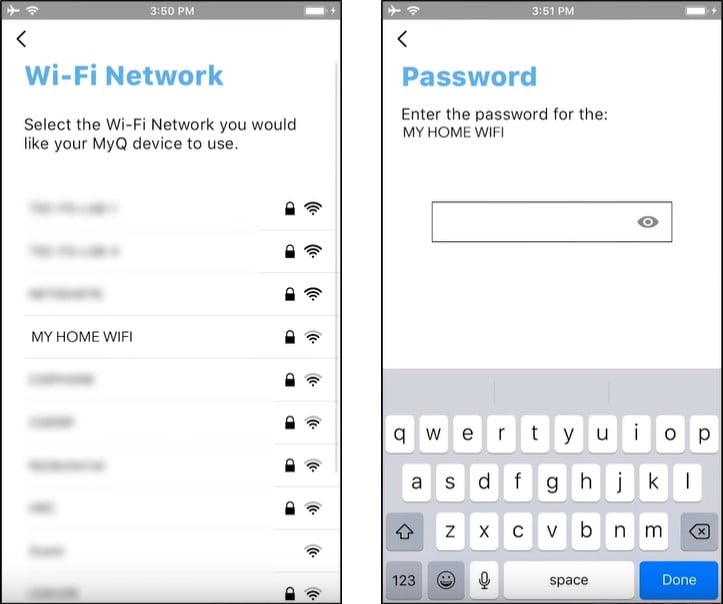
- Choose your WiFi network and type in its password. The app might show several WiFi networks within its range. Make sure you choose the right one.
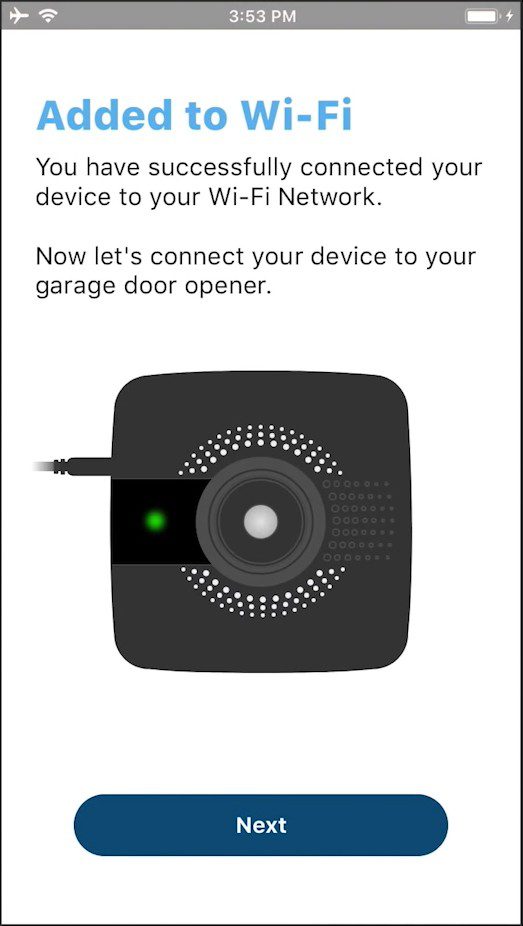
- Wait for the app to connect to your WiFi network. The LED on the hub will flash to show it is connecting to the network. It will show a steady green light when it is connected.
How to Pair the Hub and the Garage Door Sensor
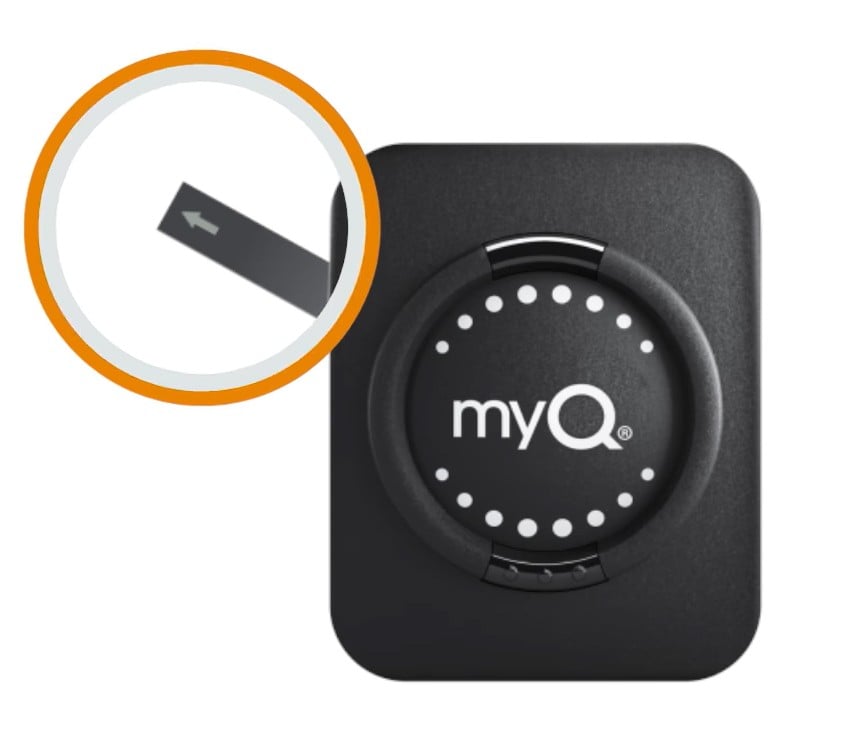
- Pull out the protective tab from the garage door sensor. This will activate the batteries.
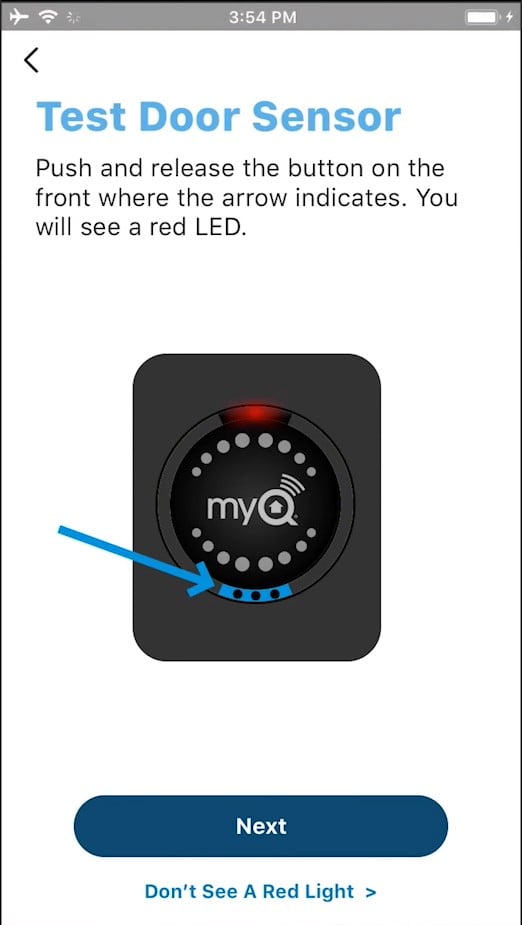
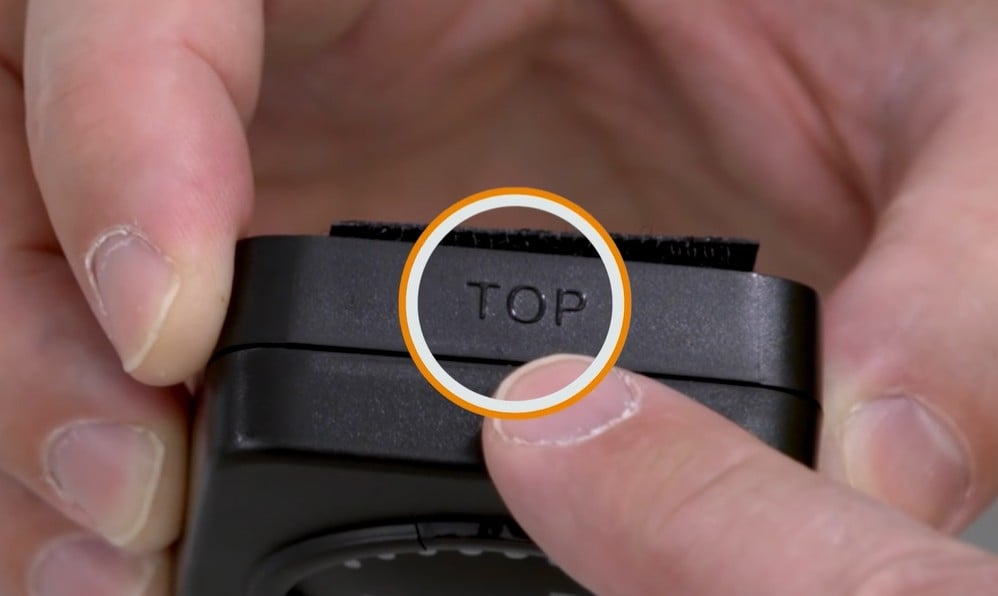
- Test the door sensor. You can do this by pressing the button on the lower half of the circle. You should then see a red light at the top of the device.
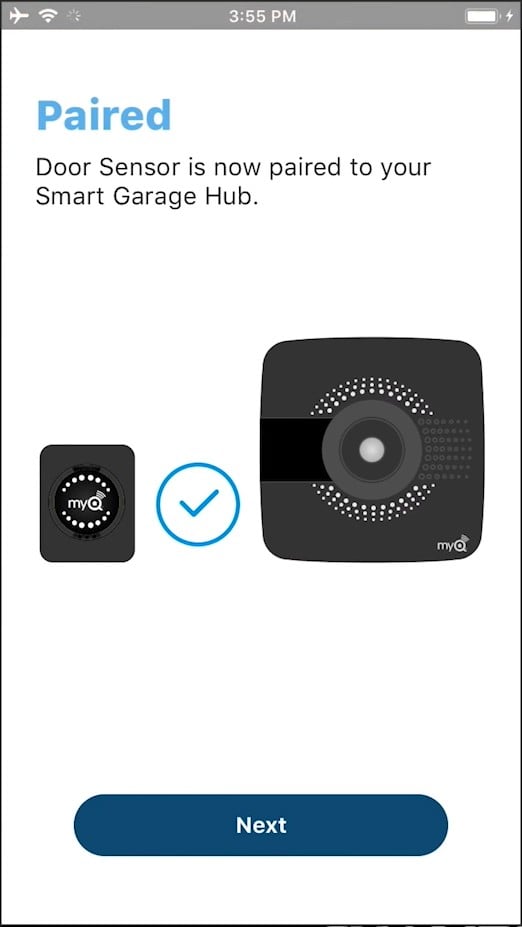
- Wait for a bright light to flash in the middle of the hub. This means the hub has found the sensor.

- Press the sensor’s button on the lower half of the circle again. A beep will confirm that the hub and sensor are now paired or connected. You can now install the sensor to your garage door.
How to Install the myQ Garage Door Sensor
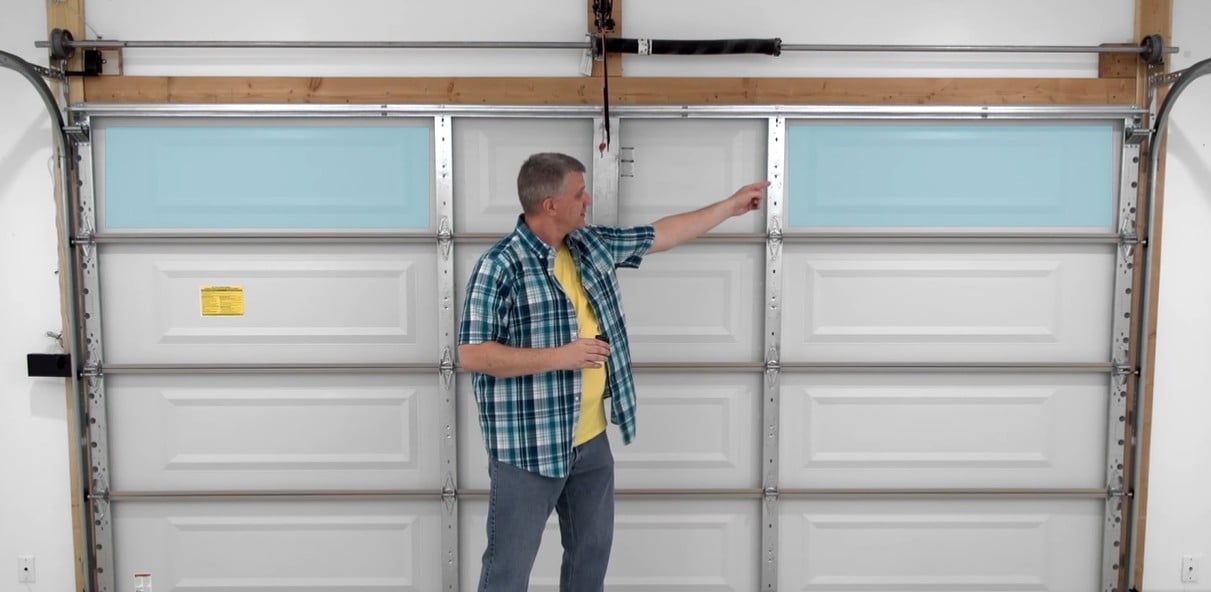
- Choose the garage door’s top panel where you want to mount the sensor. Wipe off any dust with a clean, dry cloth.
- Attach the supplied adhesive strips to the back of the sensor. To do this, peel off the adhesive cover and attach the strip to the back of the sensor one at a time. Remove the two remaining adhesive covers from the strips. Warning: do not split the strips apart.
- Firmly position the sensor on the garage door panel. Make sure the sensor is upright: the word “top” on the sensor should face upwards, and you can read the myQ logo correctly.
How to Pair the Garage Door Opener With the myQ Smart Garage Hub
- Close your garage doors and clear the entrance of obstructions. Your garage door might open and close during the final pairing. Also, ensure that the garage door opener is plugged in.
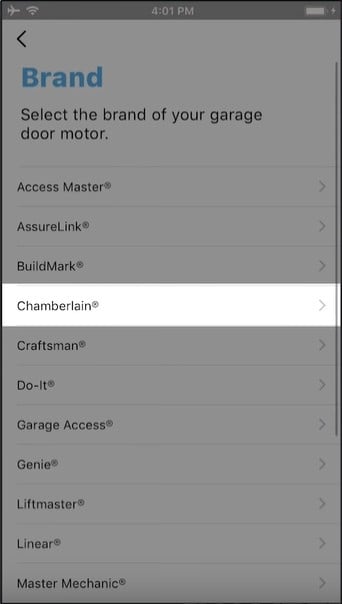
- Select the brand of your garage door opener in the myQ app. This tells the hub to start looking for your door opener. Meanwhile, you should get on your ladder to access the garage door opener on the ceiling of your garage.
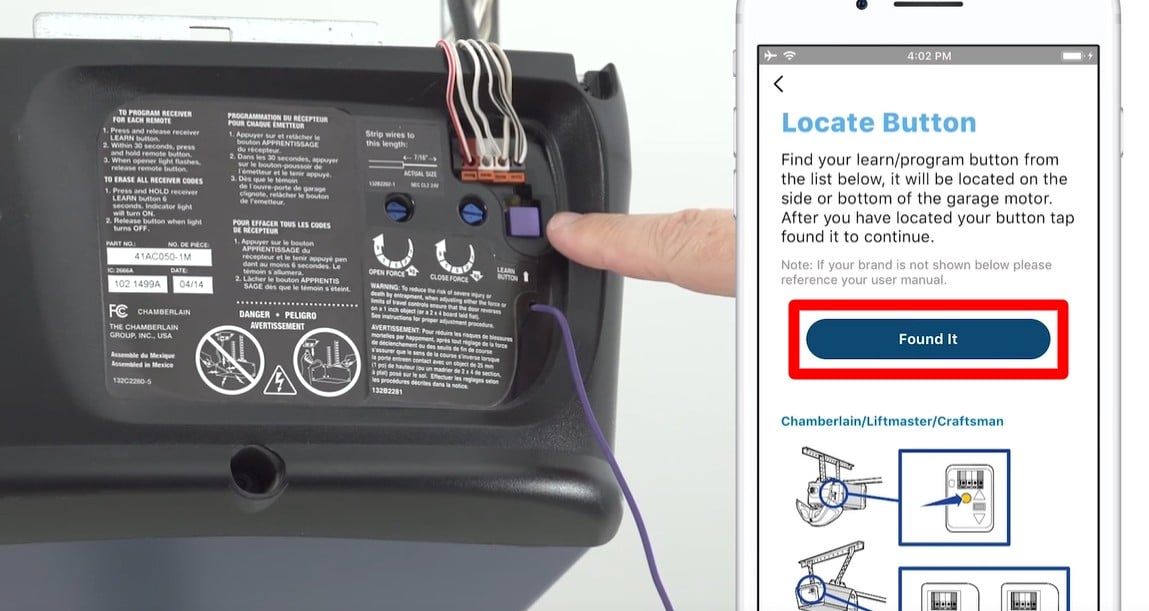
- Find the learn/program button on your garage door opener. This button could be on the back, side, or bottom of the unit. When you find it, click “found it” on the app. The app might also prompt you to select the color of your learn button, which could be yellow, purple, orange, green, or red.
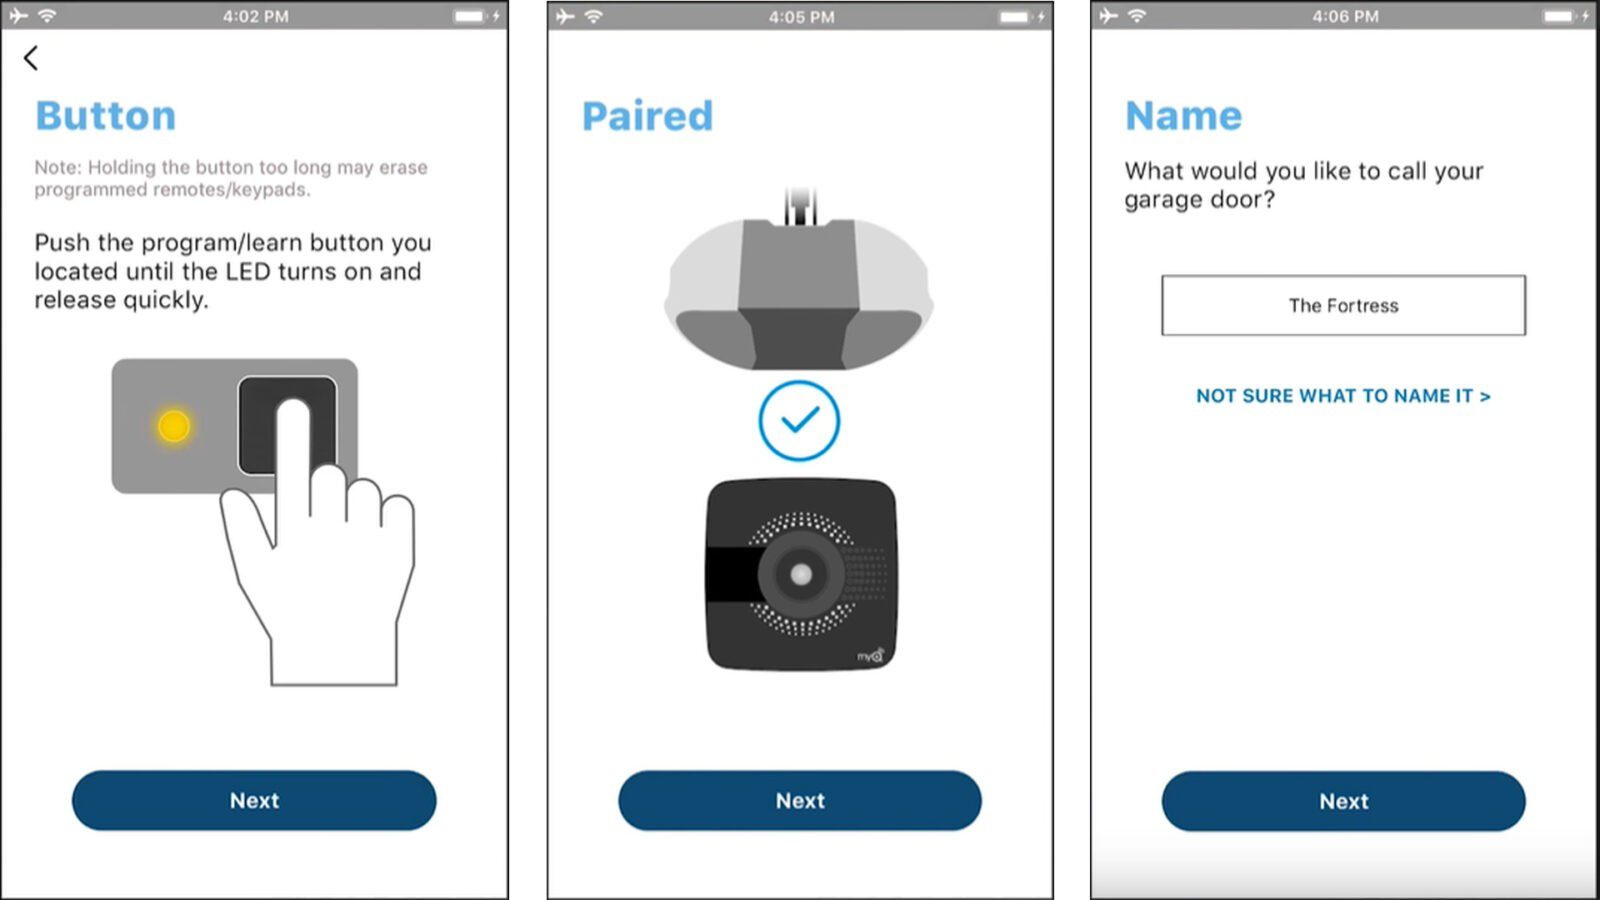
- Press the learn button on the door opener until you see the LED next to the button light up. Don’t press the learn button too long. Otherwise, you might un-pair your current garage door remote controls.
- Wait for the hub to find the garage door opener. The app might need several attempts to do this. When successful, a checkmark will appear in the app, and you’ll be prompted to click “next.”
- Finally, type in a name for your garage door opener. This can be any name you want.
How to Mount the myQ Hub Near the Garage Door Opener
- Get your tools ready. You will need a pencil/marker, a Philips screwdriver, a 5/32 drill bit and drill, a stepladder, and safety goggles. The bracket, screws, and wall anchors are provided with the hub.

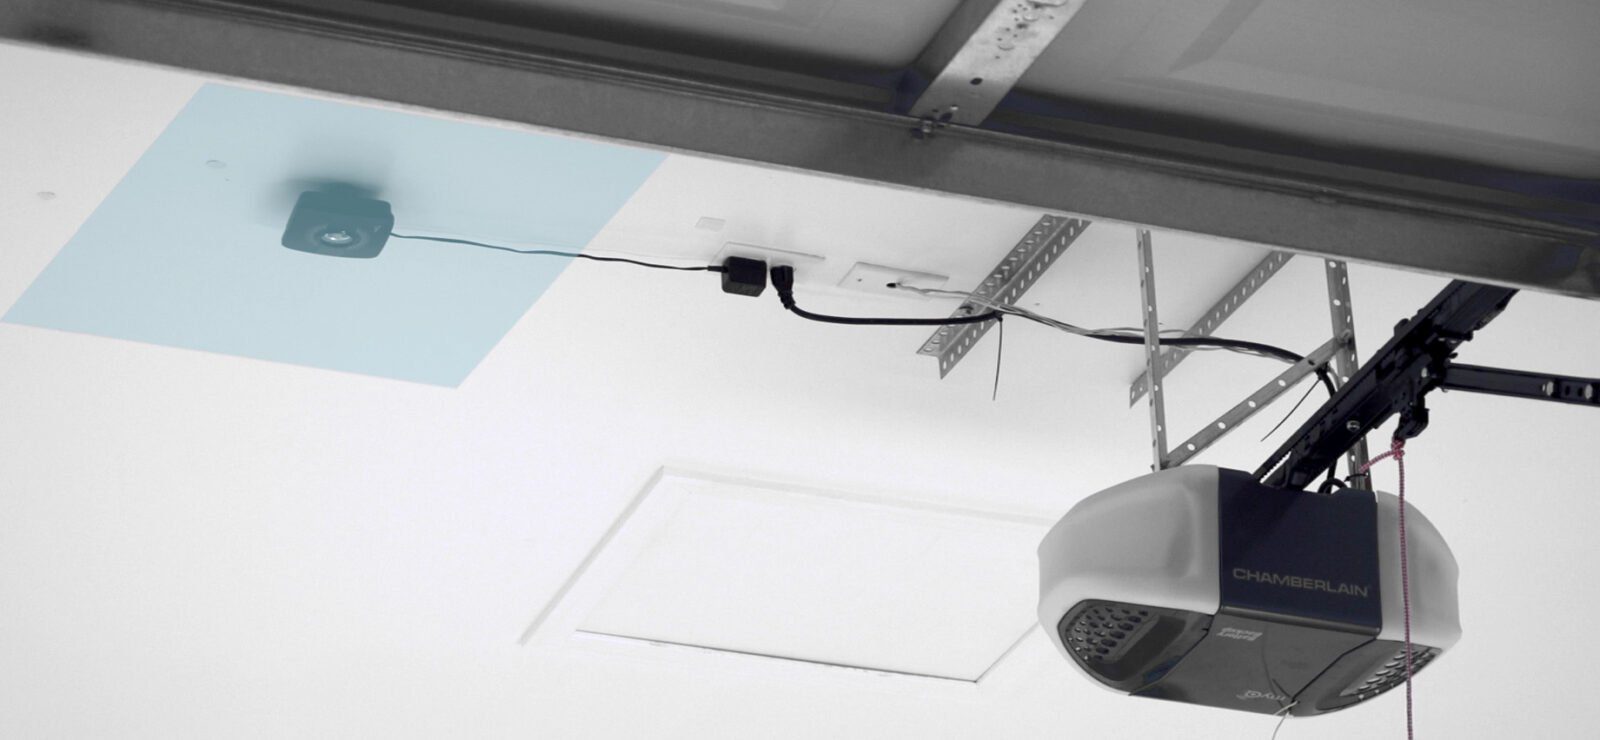
- Choose a spot on the ceiling 5 to 6 feet from the garage door opener. You should choose a spot where you can see the flashing light of the hub from the entrance of your garage. It should also be near a power outlet.
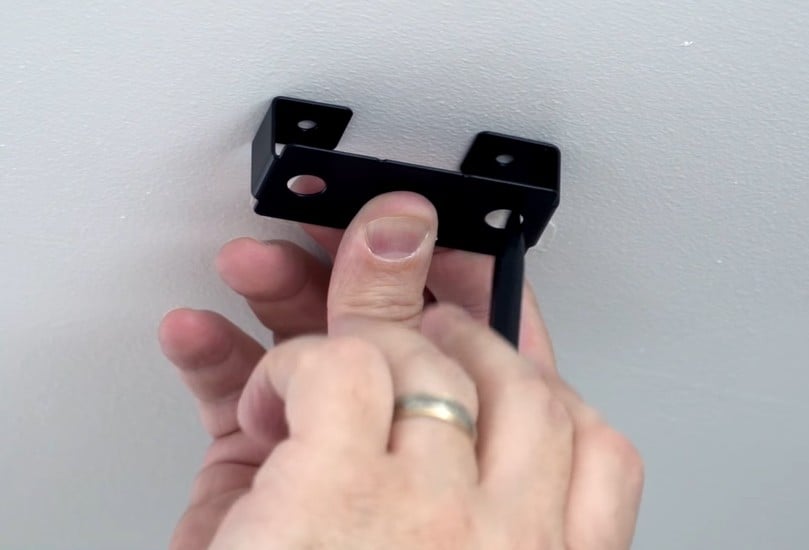
- Mark the ceiling using the holes in the mounting bracket as a guide. The bracket’s open ends should face the ceiling.
- Drill holes into the marked spots.
- Then push in the anchors, making sure they are flush against the ceiling.
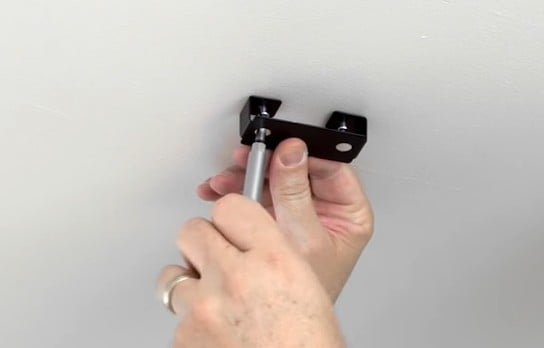
- Screw the mounting bracket into place.
- Slide the garage hub onto the bracket until it clicks into place.
- Plug the power cord into the hub. If your cord is too long, you can wrap the excess around the hub.
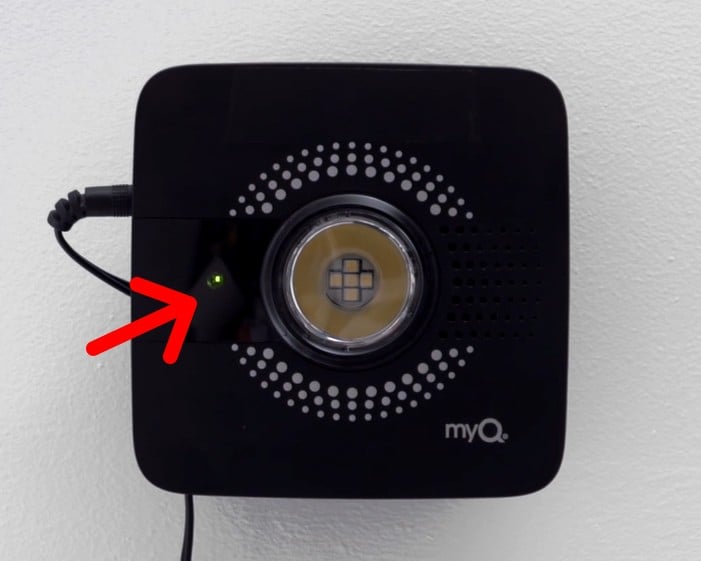
- Plug the power cord into the power outlet. Make sure the hub’s green LED light turns on.
- Finally, tap the garage icon on the app to open and close the garage door.
Congratulations! That is all you need to install the myQ smart garage door opener. Bitten by the smart home bug? See how you can make your home even smarter by learning about the best smart home devices for beginners.
HelloTech editors choose the products and services we write about. When you buy through our links, we may earn a commission.
