Have you ever wanted to see something on your computer when you were away? If you have a Mac, you can easily view and move your files, launch apps, or restart another Mac computer remotely. This is perfect if you are out of the office and want to access a file on that computer from home. It’s also useful if you are trying to help someone else fix a problem with their Mac. Here’s how to screen share on a Mac remotely or on the same network.
How to Share Your Screen on a Mac Remotely
To share your screen on a Mac remotely, use Spotlight to open the Screen Sharing app on your computer. Then type in the Apple ID of the Mac you want to control remotely. The other computer will have to allow access.
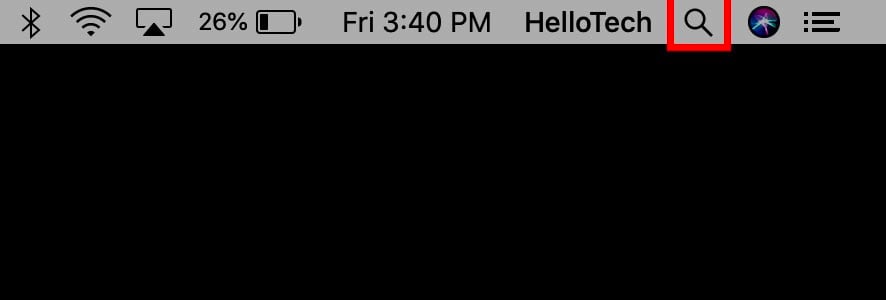
- Open Spotlight on your Mac. You can do this by clicking the magnifying glass icon in the top-right corner of your screen. Also, you can hit the Command + Space Bar keys on your keyboard at the same time.
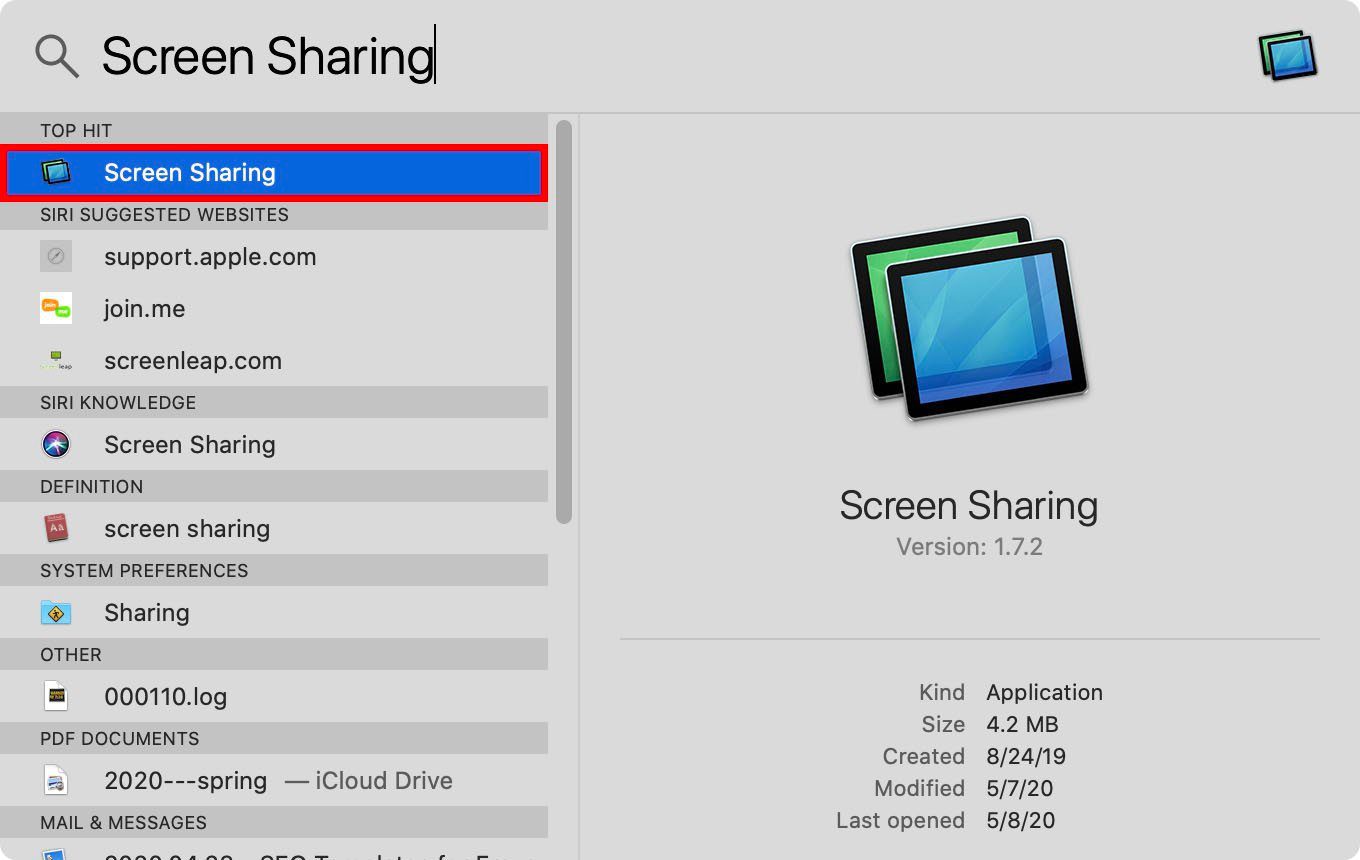
- Then type Screen Sharing into the search bar and hit enter on your keyboard. You can also select the app with your mouse.
- Next, type the Apple ID of the user’s computer you are trying to access remotely and click Connect. If you don’t know the Apple ID of the user’s computer you are trying to access, you can find it by clicking the Apple logo in the top-left corner of your screen. Then select System Preferences > Apple ID. You will find it just below the profile picture and username in the left sidebar.
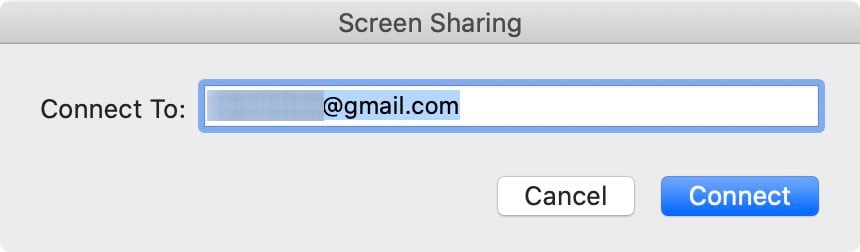
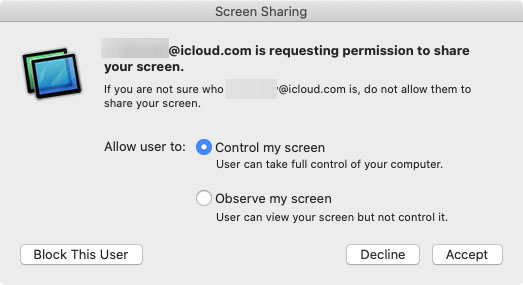
- Then click Connect. You can also hit Enter on your keyboard. Then the other computer will receive a notification in the top-right corner of their screen.
- The other user will have to click Accept on the notification they receive.
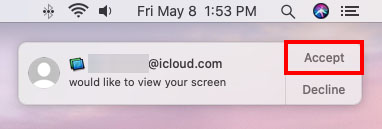
- The other user can then choose to allow you to control or observe their screen. If they choose Control my screen, you can take full control of their computer. This means you can open apps, move files and folders, and more. If they choose Observe my screen, you can look at their screen, but you won’t be able to control their computer.
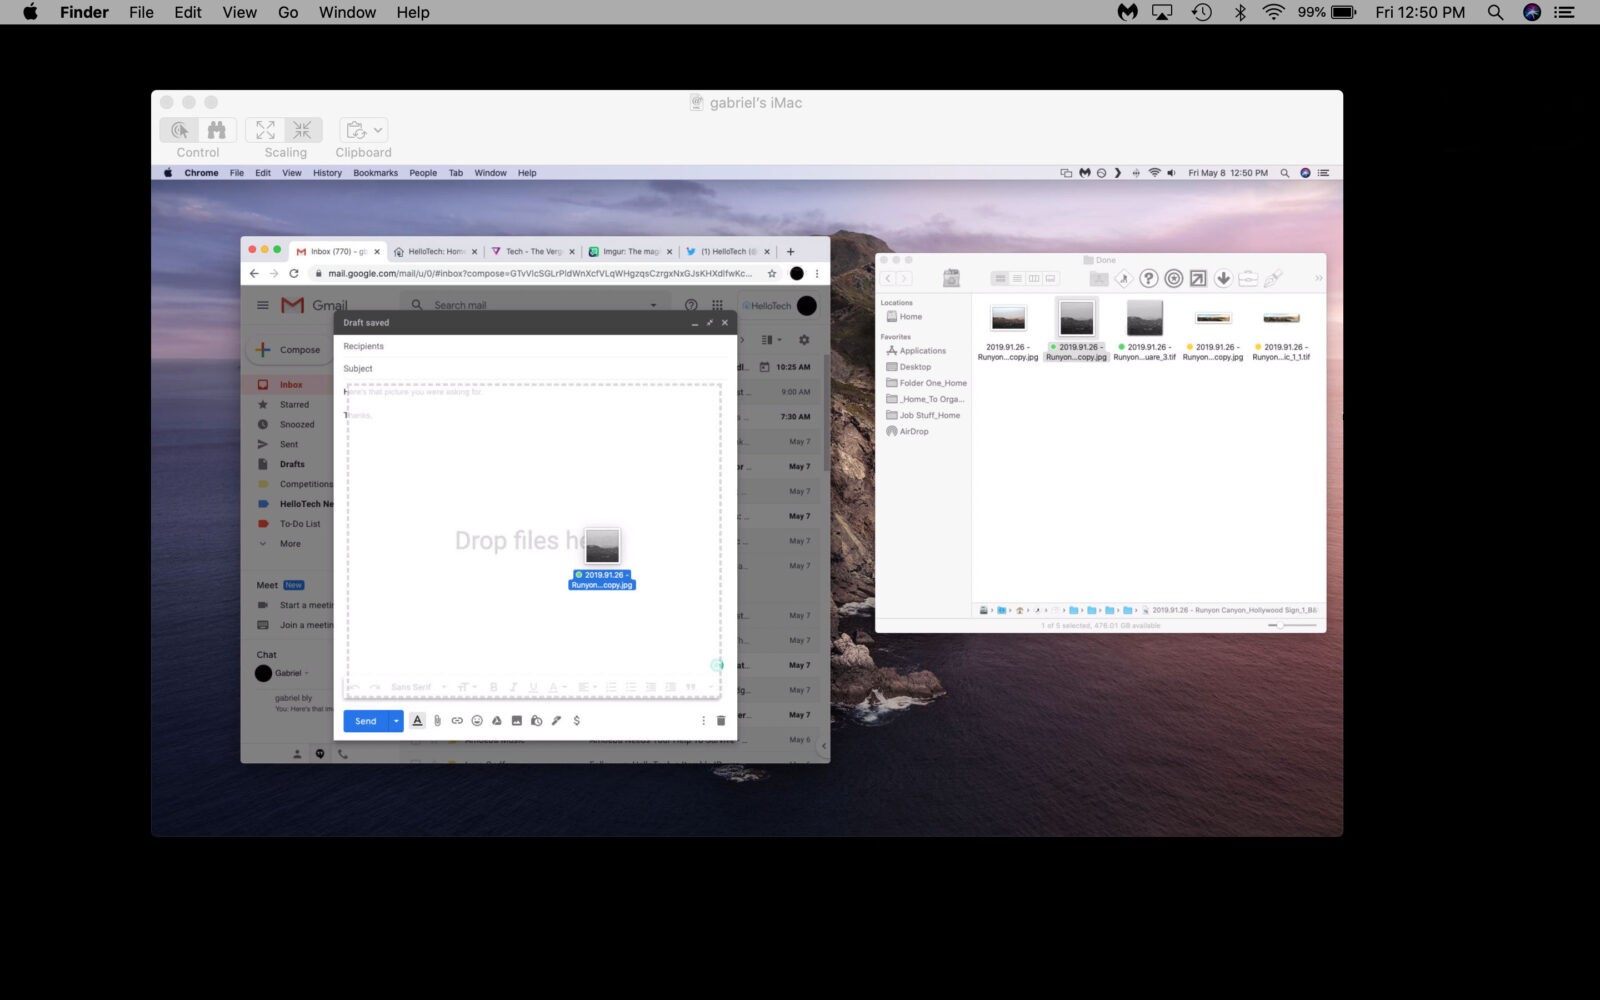
- Once the other user clicks Accept, you will see their screen from your computer.
You can then choose to mute the microphone by clicking the Screen Sharing icon in the Apple Menu Bar. This is the icon that looks like two rectangles on top of each other in the top-right corner of your screen.
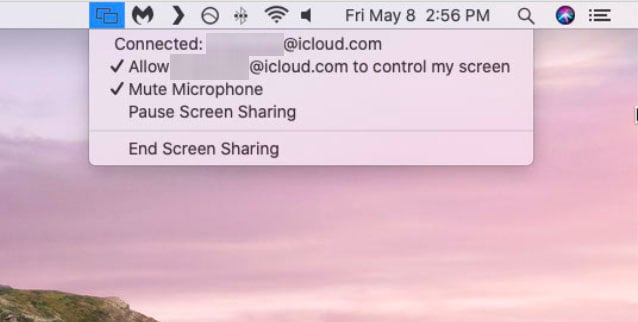
You can also choose to pause or end the Screen Sharing app from this menu.
How to Share Your Screen on a Mac on the Same Network
To share your screen on a Mac locally, go to System Preferences > Sharing. Then click Screen Sharing and choose All Users. On another Mac, click Go > Connect to Server and paste the VNC address. Finally, enter your username and password.
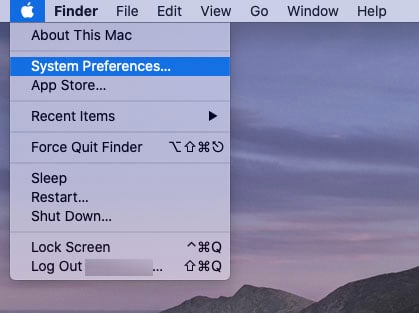
- Open the Apple menu on the Mac you want to access remotely. You can do this by clicking the Apple icon in the top-left corner of your screen.
- Then select System Preferences.
- Next, click Sharing.
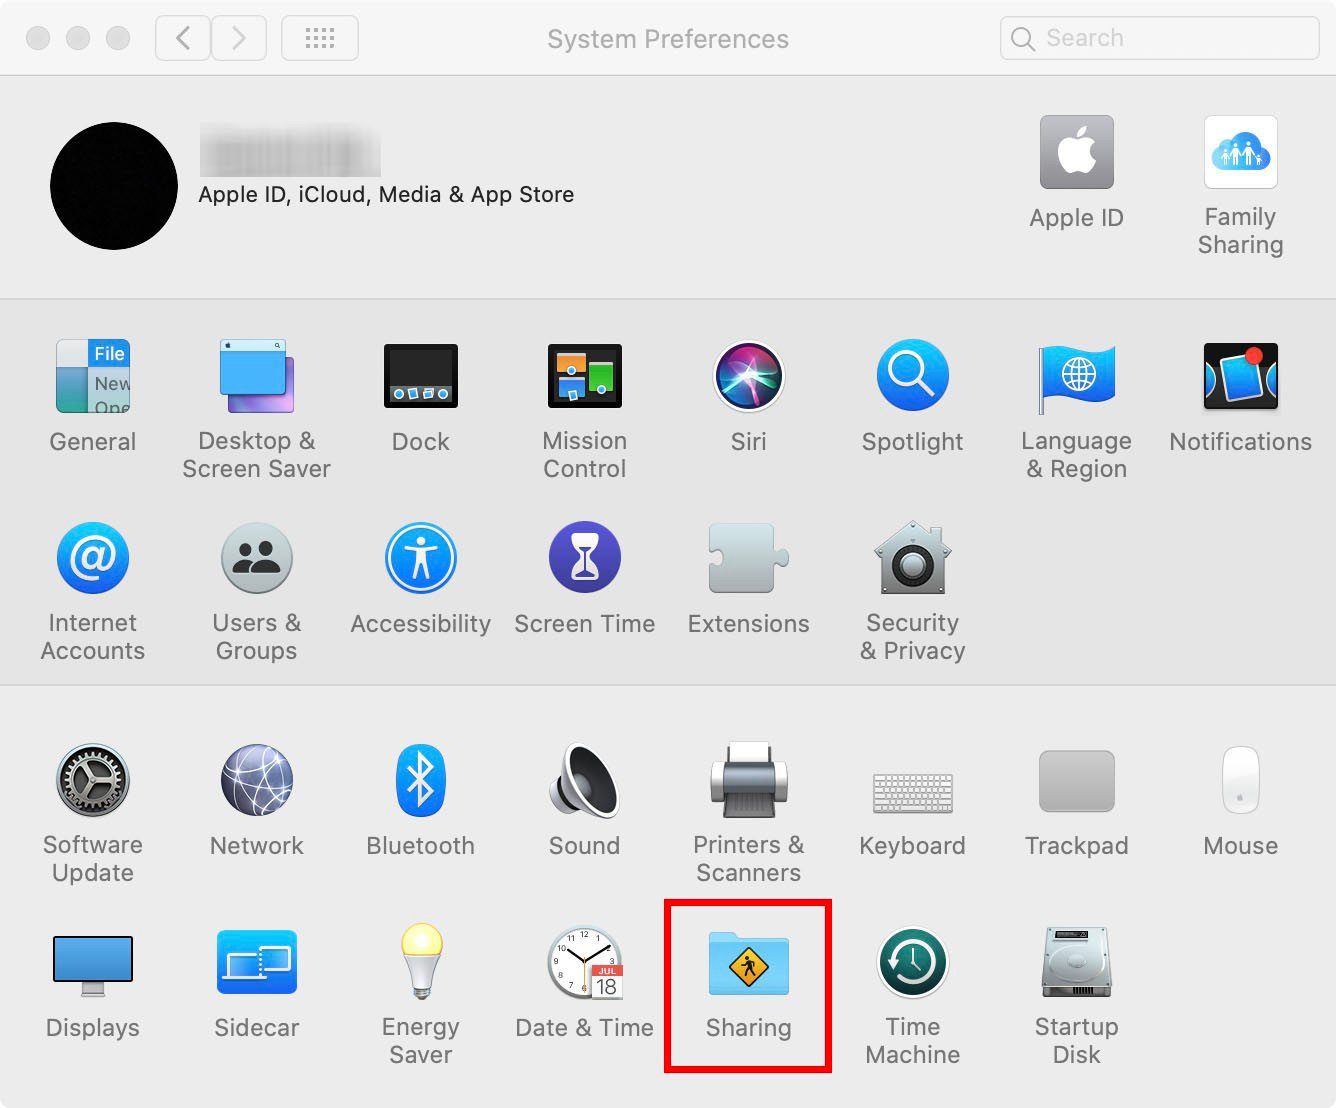
- Then check the box next to Screen Sharing. You will see this option in the left sidebar.
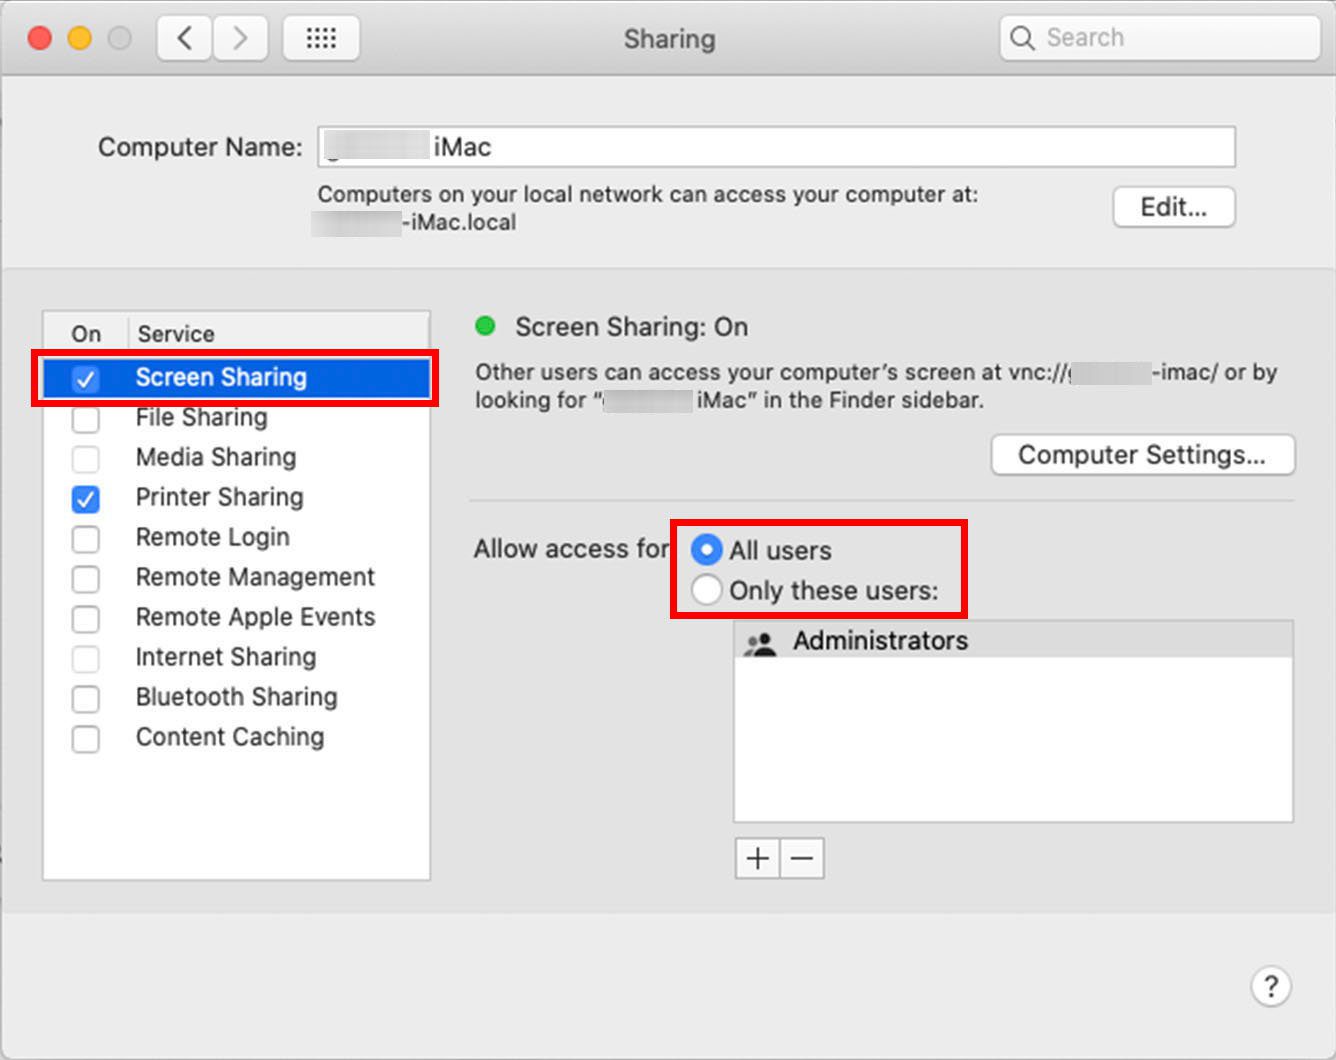
- Choose to allow access for All Users or Only these users. If you select All users, any user in your network can share your screen. If you select Only these users, click the “+” button towards the bottom to add users with whom you can share your screen. You can select users from Users & Groups and Network Users.
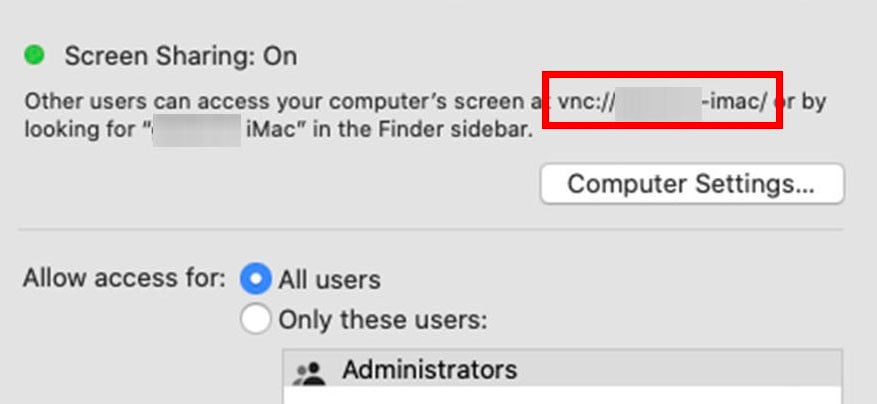
- Then copy your Mac’s VNC address. This information is under the Screen Sharing: On notification.
- On a different Mac, open Finder. This is the half-blue, half-white face icon in your Dock. You can also just click on your desktop.
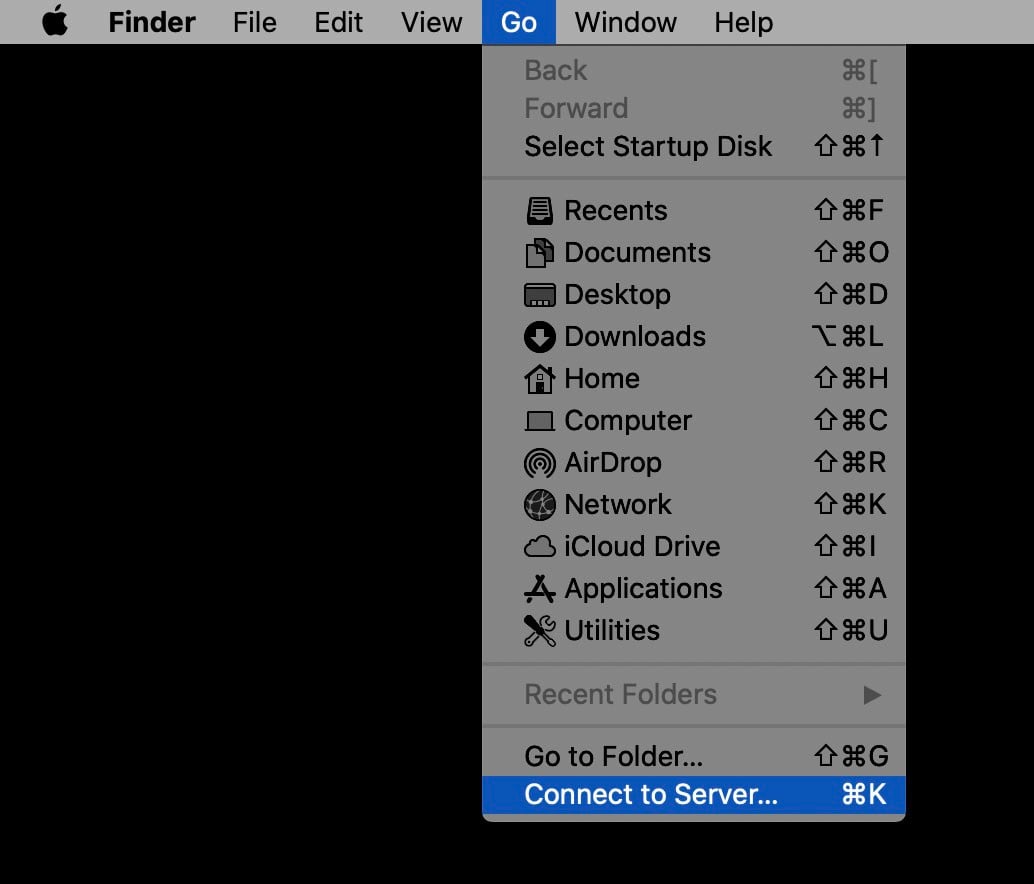
- Then click Go in the Apple Menu Bar. You will see this in the strip at the top of your screen.
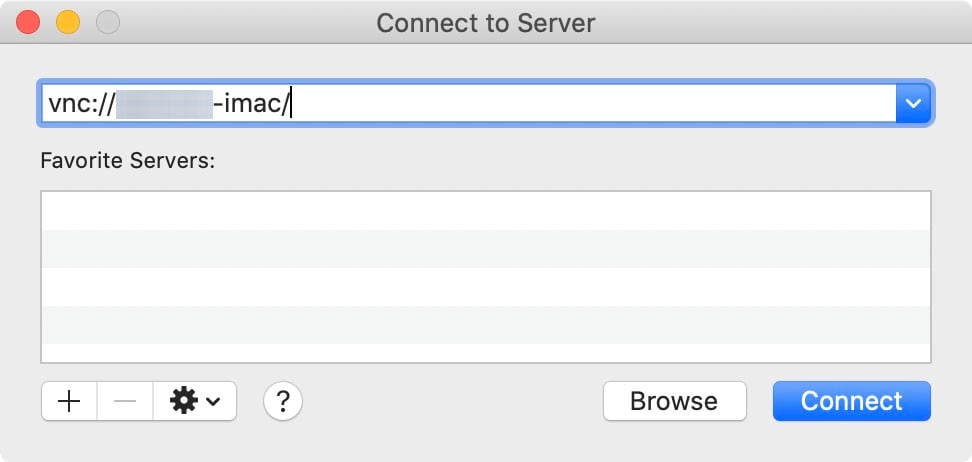
- Next, select Connect to Server. You can also access this by hitting the Command + K keys on your keyboard at the same time.
- Type in the VNC address of the Mac you want to screen share and click Connect.
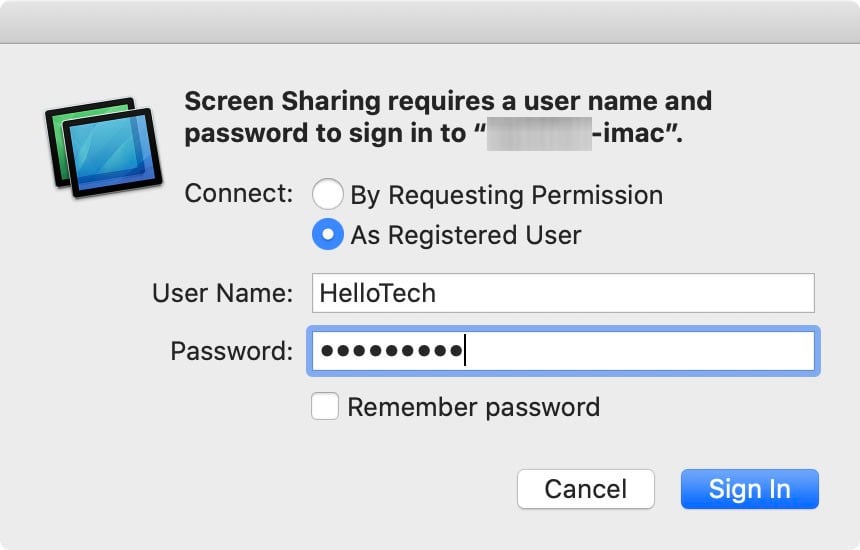
- Then choose to sign in as a registered user.
- Enter the username and password of the Mac you are trying to access. This is the username and password that you would use to sign in to the Mac that you are connecting to.
- Finally, click Sign In.
To make the most out of your screen sharing sessions, you can change the app’s settings by going to Screen Sharing in the Apple Menu Bar and selecting Preferences. You can also access this by hitting Command + Comma keys on your keyboard.
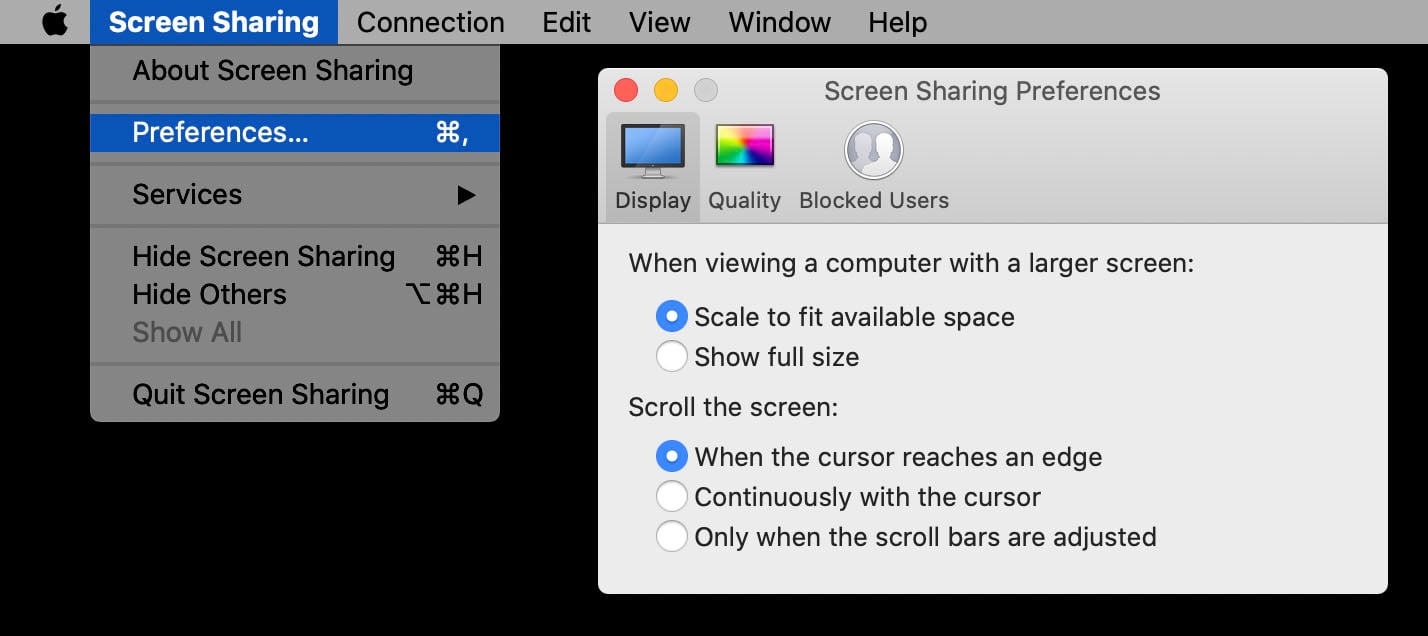
From here, you can change the size, scrolling options, and quality of your screen sharing. You can also choose to block certain users from screen sharing with you.
You can turn Screen Sharing off by quitting the app or going to System Preferences > Sharing and unchecking the Screen Sharing box.
If you’re still having problems with your computer, you can always remotely connect with a HelloTech technician. Just visit the HelloTech remote computer support page, and a remote technician will be there to help you solve your problem 24/7.
