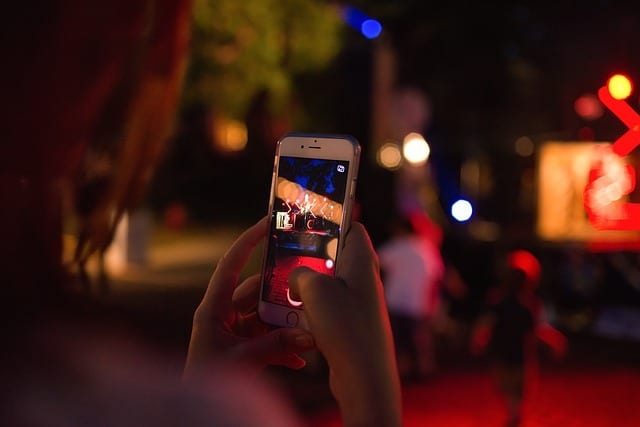
Endless practice and these clever hacks can help you overcome your smartphone’s camera’s kryptonite: low-light environments. Having the best smartphone camera on the market may not be enough to conceal incredibly small image sensors. That’s why it’s especially difficult taking a nice photo on your device at night. In most cases, you’d either end up with a snapshot that’s full of noise or one that may be outright blurry.
Luckily, there are plenty of ways to overcome your camera’s glaring weakness. Here are tips that will come in handy on occasions when you need to take a selfie after sundown.
Adjust Settings Manually
To get the most from every shot you take, you might want to learn to adjust your camera’s settings manually. Being able to adjust your smartphone camera’s ISO and shutter speed can go a long way in helping you capture better low-light photos.
For many Windows and Android phones, a manual mode may not be too difficult to find. Both OS often have that feature built into their camera app. This isn’t the case with iPhones, but you can always download apps like VSCO, Obscura, or Manual to do something similar.
Overcome Shaky Hands
Attaining a longer shutter speed or a lower ISO setting may be easy when your phone’s camera has optical image stabilization, but your hand’s shakiness can get in the way. As much as possible, stabilize your every shot. To do this, invest in a small tripod that’s suitable for your phone’s size. With a stable surface, you can turn your camera’s manual mode on and set your shutter speed long enough to capture light trails.
Maximize Any Available Light
Taking great pictures in low light can be a little tricky, so bring in what little lighting you can get around you. Remember, any small amounts of natural light may be enough to create a dramatic effect on your image. When there’s little natural light to go around, make sure you get the subject’s face/feature (not their backs) illuminated. And if you’re taking someone’s photo, just ask him or her to turn slightly to the side.
Focus Correctly from the Get-Go
Among the most common mistakes committed when taking pictures on smartphones is not tapping on the subject on the screen. Instead of letting your phone’s face recognition or focus do all the work, aid the software by actually tapping on the subject on the phone’s screen. That should set the proper exposure for your subject. This tip gets a bit difficult in low-light environments, though. In that case, refer to the 3rd tip and avoid taking snapshots in pitch darkness.
Keep the Shutter Open Longer
Because apertures are fixed smartphone cameras, leaving the shutter open longer may be your only choice to get cleaner photos at night. Doing so should, theoretically, produce low-light pictures that have less noise. Keep in mind, though, that the longer the shutter speed stays open, the more movements will be blurred. It goes without saying that it’s best to keep your subject steady whenever you’re snapping pictures in dark locations.
Experiment on the White Balance
Your phone’s camera will have difficulty in guessing the correct white balance for each shot, especially when there’s not much lighting. The correct balance brings out the most natural colors for your shot.
On that note, try different white balance settings for every snapshot taken in low-light settings and see what works best.
Forget About Zooming
Digital zooming isn’t just virtually useless on smartphones, it worsens the shots you take at sunset. You see, zooming amplifies noise, exacerbates any shaking of your hands, and lowers the picture’s resolution. Instead of zooming with your camera app, move closer to your subject. If that isn’t possible, you’re better off taking a shot now and then cropping the image later.
Refrain from Using Flash
As counterintuitive as it may sound, try not to use flash in darker surroundings. While it seems logical to use it, that may not be the best source of light given the circumstances. Insist on using flash in low-light scenarios and skin will look harsh and oddly colored. If you don’t want the subject to look like an alien in your shots, stick to whatever available light there may be.
Edit and Filter Photos Subtly
Easily the best way to enhance largely darkened images is using image filters. Use the Fade tool on your phone’s camera app and you can lessen the contrast in noisy areas of your low-light picture. This often creates the illusion of a cleaner shot. We’ve even seen photographers take really bright photos, which they darken later (using exposure) to reduce shadow noise. Either way, post-editing snapshots can help a lot.
Conclusion
Taking awesome pictures on your smartphone isn’t guaranteed, especially in low light scenes. That’s often the case even if you own an expensive phone. Although the Samsung Galaxy S8 (or Note 8) or Apple’s iPhone X (or iPhone 8) gives you a bit of a photographic edge, you’ll still need to practice manual approaches used in traditional photography.


