Updating your Amazon Fire Stick will give you the latest features and help your device perform optimally. While Amazon Fire TV devices install these updates automatically, you also have the option to force update your device. Here’s everything you need to know about how to update any Fire TV device manually.
Read More: How to quickly pair your Fire TV remote
How to Update Your Amazon Fire TV Stick
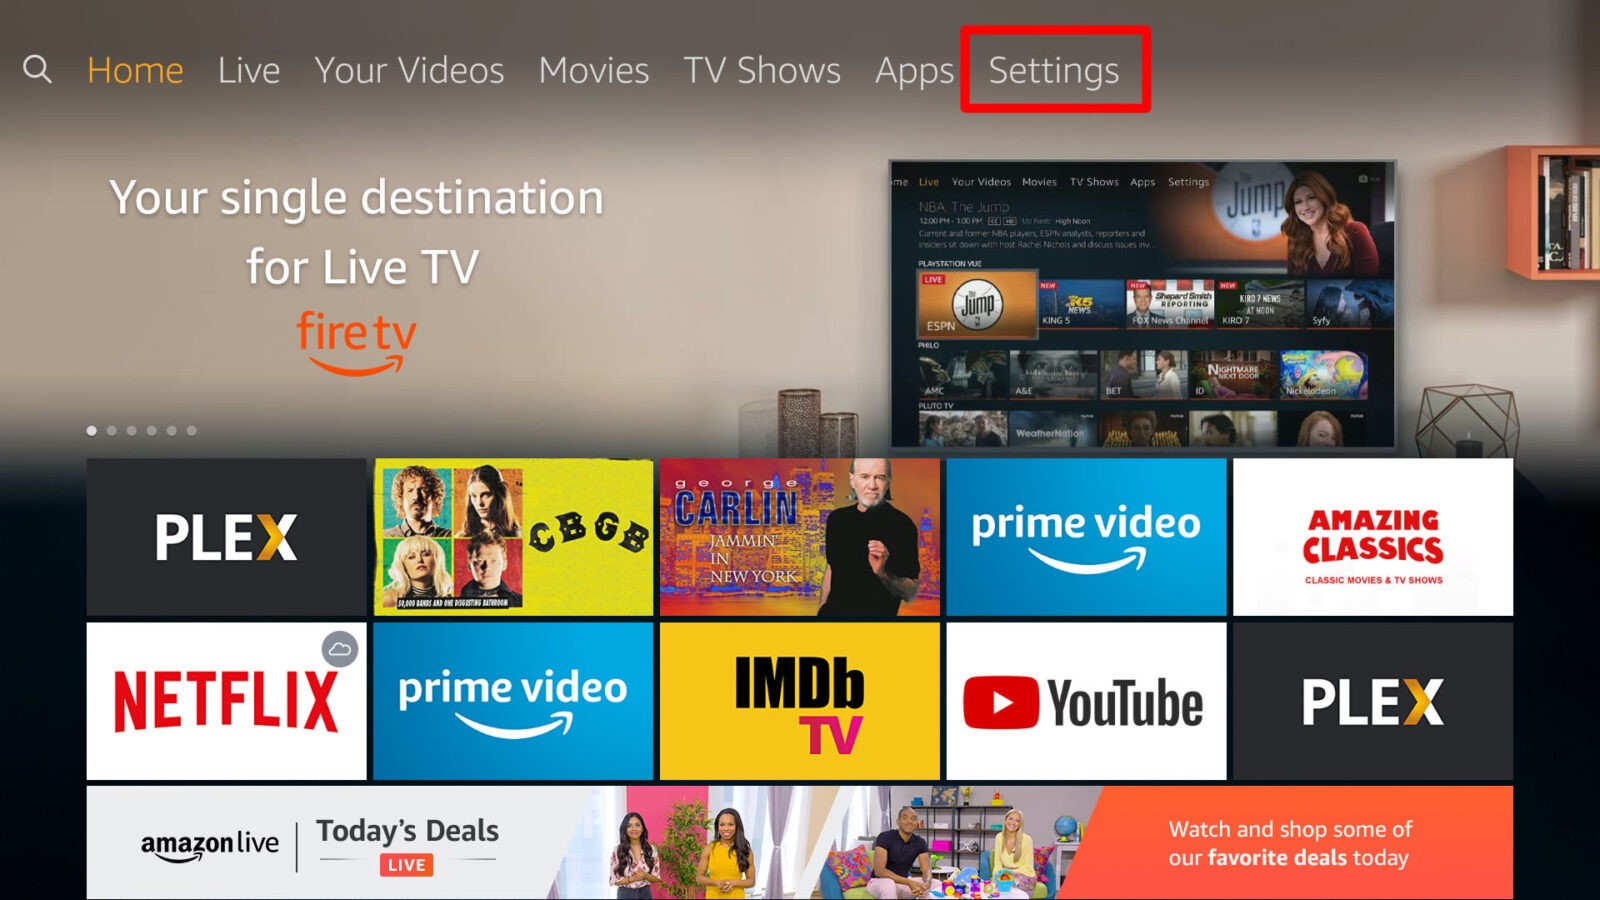
To update your Fire TV device, go to the home screen and select the Settings gear icon. Then go to My Fire TV > About > Check for Updates or Install Updates. Finally, wait for the update to install and repeat the process until your Fire TV is up to date.
- Go to Settings. To do this, press the home button on your remote and then press the right directional until the gear icon is highlighted. Finally, press the down button on your remote to open Settings.

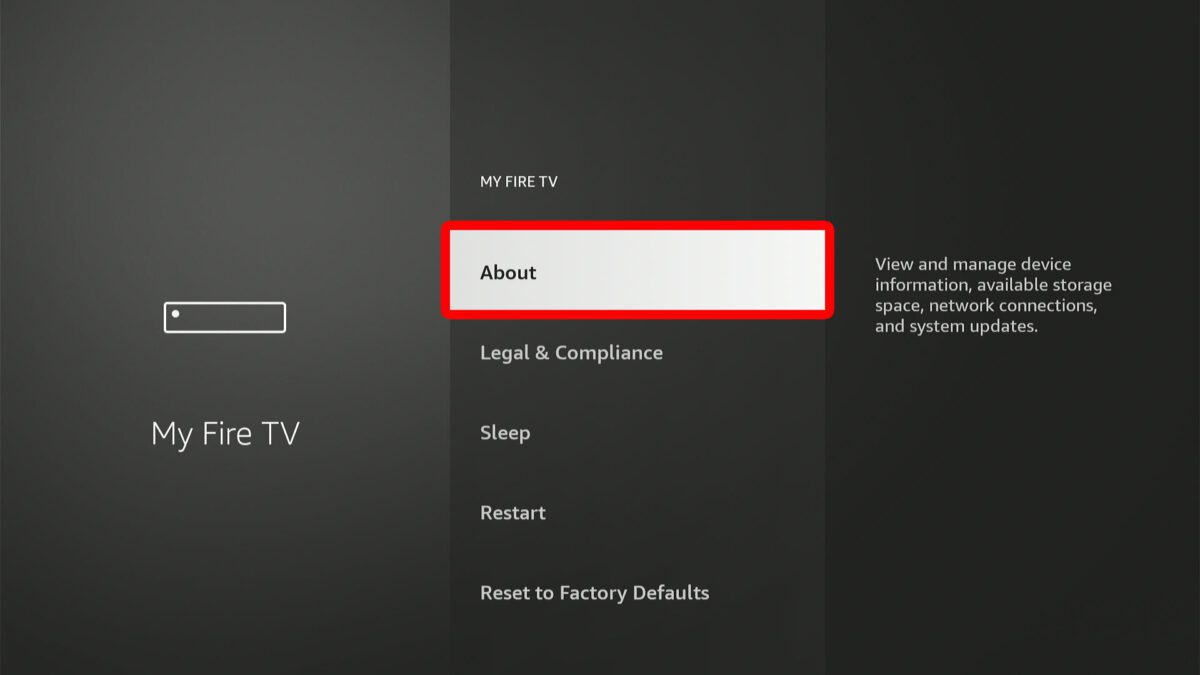
- Then select My Fire TV. If you have an older Fire Stick, it may be labeled as Device or System instead.

- Next, select About.
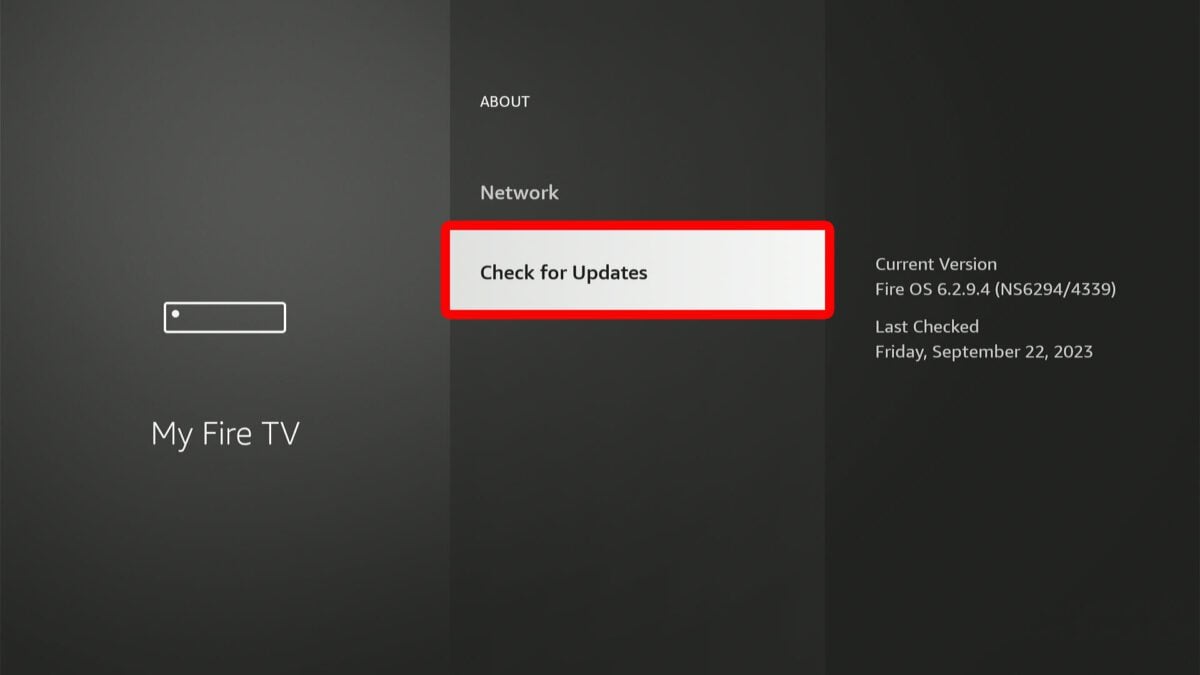
- Then select Check for Updates. This might also be labeled Install Update, depending on the last time you updated your Fire Stick.
- Next, Select on your remote. Once you do this, your TV will power off.
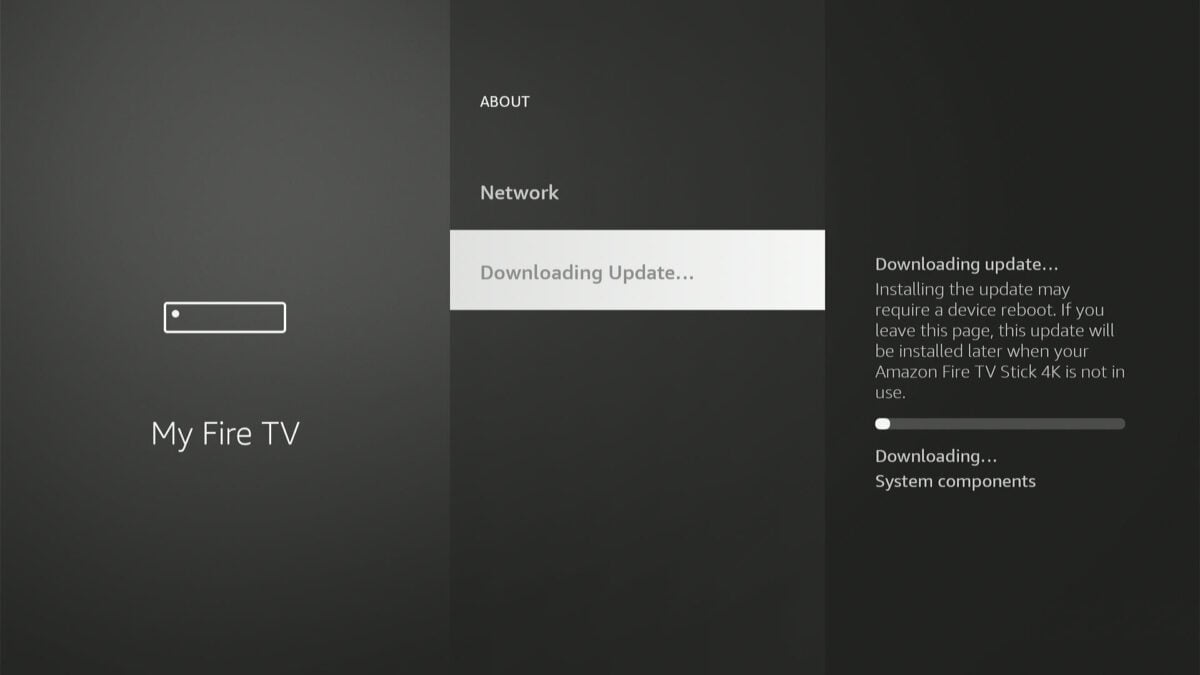
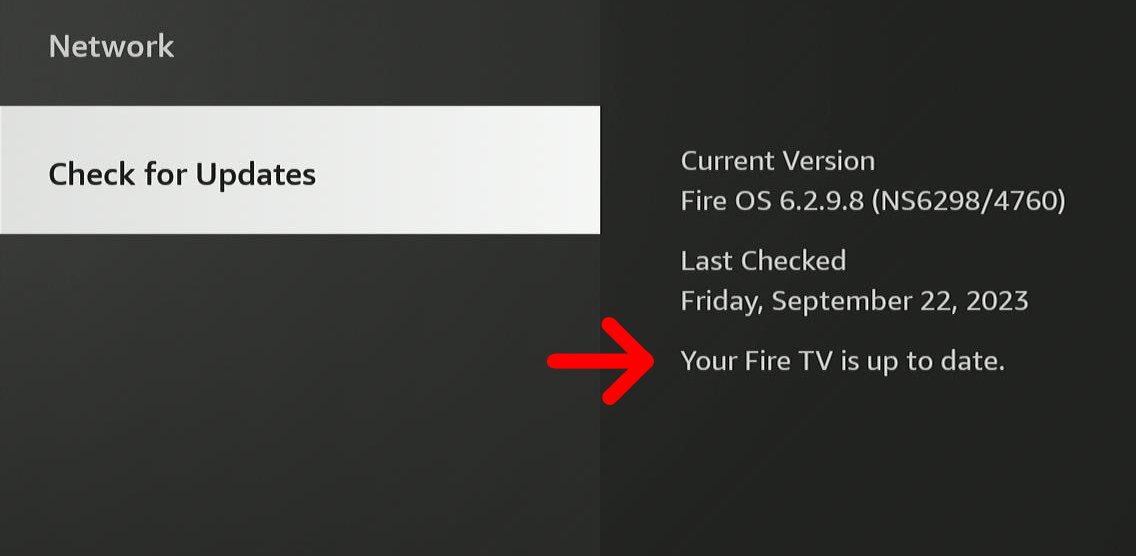
- Wait for your Fire TV Stick to update. You should see a message on your screen that says your Fire Stick is installing the update.
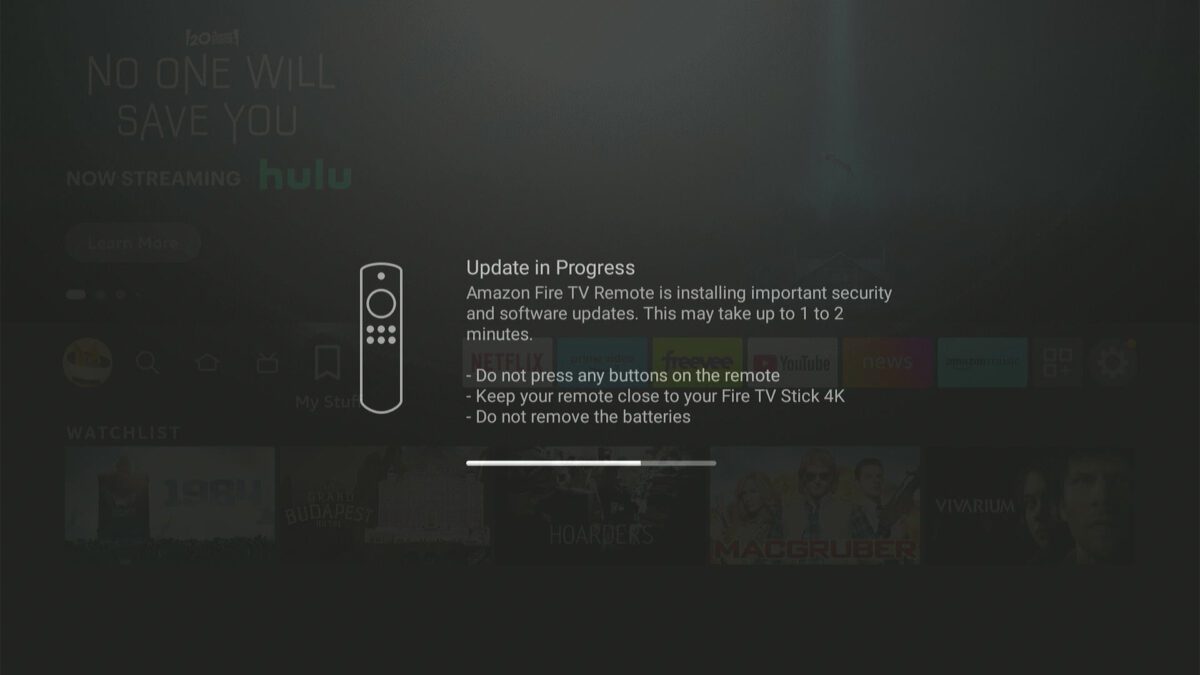
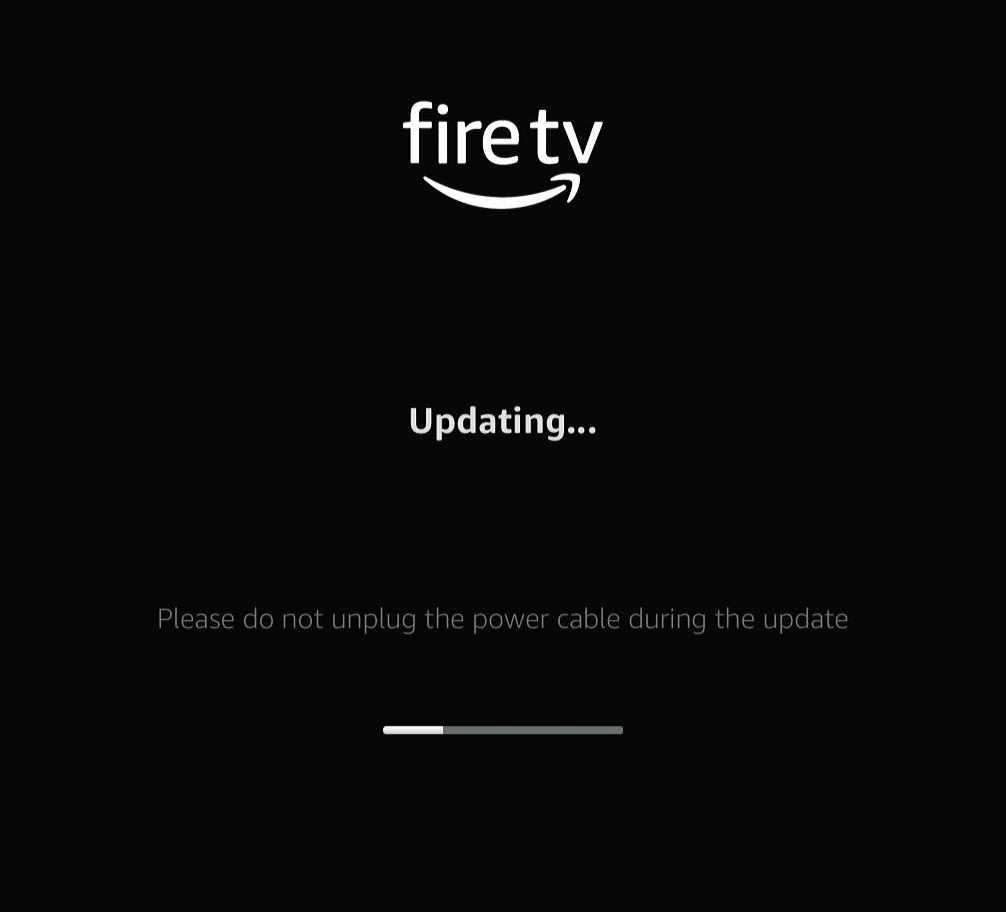
Installing a Fire Stick update might take up to 5-15 minutes, depending on the speed of your internet connection.
If you have not updated your Fire TV in a while, you might need to repeat the process and update your Fire TV several times. Check this list from Amazon to find out what the current Fire TV OS is for your device.
Updating your software will help resolve error messages on your Fire TV device. If you still experience issues, check out our previous guide on how to reset your Fire TV device.

HelloTech editors choose the products and services we write about. When you buy through our links, we may earn a commission.