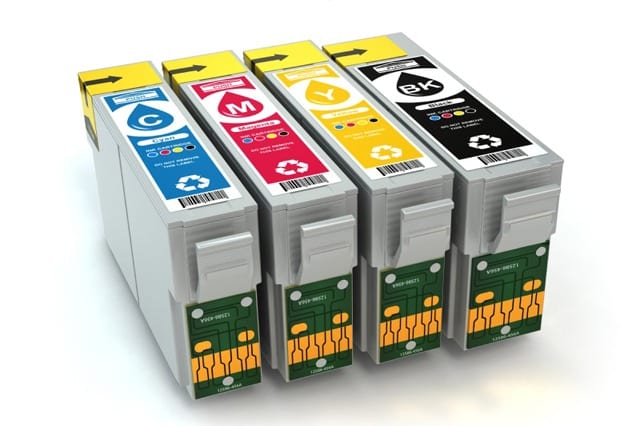
An ink cartridge that has seemingly run out of ink after only a few printed pages is certainly a head-scratcher, especially when the indicator shows a full ink level. The likely culprit here is a clogged nozzle or print head. You don’t have to replace the cartridge just yet, because it can still be restored back to its working state with these simple cleaning solutions.
The easiest and safest method of cleaning the ink cartridge’s print head or nozzle is by using the printer’s default cleaning mechanism. You can perform this by using your computer to navigate to your printer’s maintenance settings or properties, which are usually found in the Control Panel if you’re using a Windows PC or the System Preferences for Mac systems. A few repetitions of this process will not only unclog nozzles, but also help eliminate unwanted smudges and lines in the print results. Some printers even have deep cleaning for better effect.
If the self-cleaning method above doesn’t work, you can try manual cleaning. This is done by swabbing the cartridge nozzle with a cotton bud that’s dabbed with isopropyl alcohol. If the print head (i.e., the part where the ink is ejected) is located deep within the cartridge, you can use a dropper to drip a few drops of alcohol. Through this, the dry ink that’s causing the clog will soften enough for the self-cleaning method to work. For severe cases of clogs, you can also try vacuuming the nozzle plates or partially submerging the cartridge in hot water for a few minutes.
To prevent the ink from drying up and clogging the cartridge in the future, perform maintenance using your printer’s cleaning tools from time to time. It’s also best that your printer is used at least once a week.


