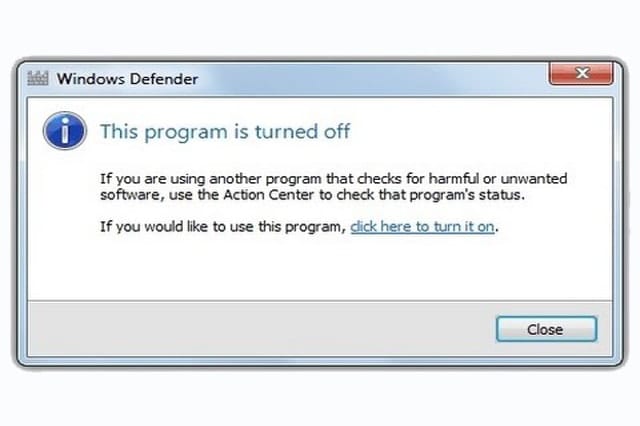
Is Windows Defender, the security software that’s built into Windows, not good enough for your needs? No problem. Third-party alternatives are just a download away. And since running multiple antiviruses simultaneously is bad for your computer, do remember to disable Defender. Here’s how.
First thing you need to do in Windows 10 is press Start, and click Settings. Go to Update & Security, and select Windows Defender in the left pane. Toggle Real-time Protection (and Cloud-based Protection, if you want) to Off.
If you are using Windows 8 or 8.1, press Start, type “defender” in the search bar, and select Windows Defender in the list. In Defender, go to the Settings tab, select Administrator in the left pane, and uncheck Turn On This Application. Click Save Changes, and provide confirmation or type the administrator password if asked.
When you try to perform the steps above, you might notice that some of the options are already turned off or Windows Defender is already disabled. That’s because the app steps aside on its own whenever you install another antivirus. There are times, however, when Windows fails to recognize the security software you install, in which case you’ll have to disable Defender manually.
If you’re wondering why we’re only disabling Windows Defender instead of uninstalling it completely, it’s because the program is fully integrated into the operating system. There’s no proper way of uninstalling that doesn’t cause stability and performance issues to the computer. But hey, at least you have Defender to return to for some level of protection if your third-party solution isn’t working out. Windows Defender automatically reactivates if nothing else is protecting your computer.


