When you have a bootable USB with your OS (operating system) on it, you can install it on a computer without having to download it from the App Store. This can save you if your computer ever experiences problems connecting to the internet or booting in Recovery Mode. It can also help if you want to install the OS on multiple devices. Here’s how to make a bootable USB on a Mac.
How to Make a Bootable USB
To make a bootable USB, you need to download the OS from the App Store. Then use a Terminal command to install the OS on your USB drive. The command you enter will depend on the OS you want to install.
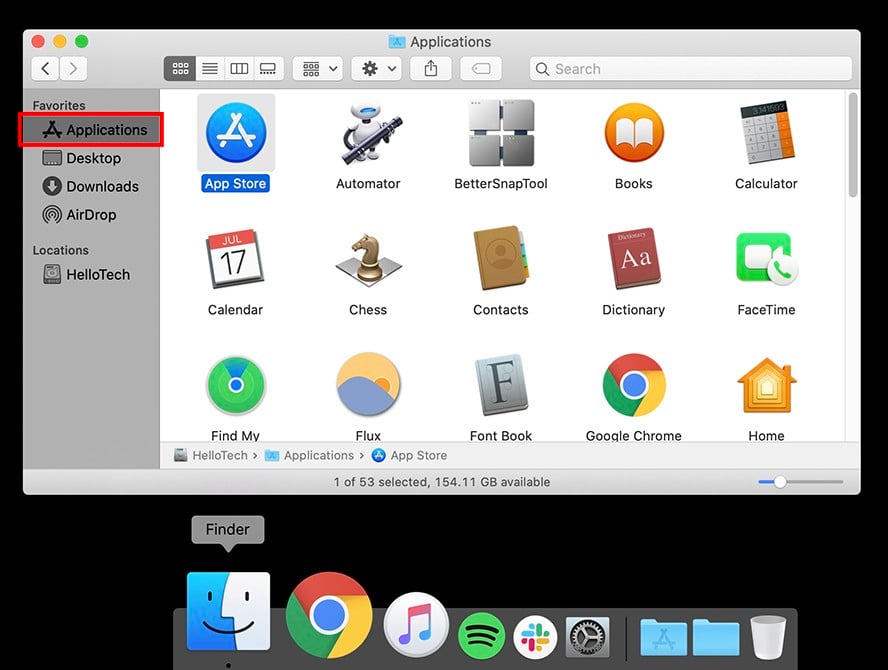
- Open your Applications folder. You can do this by clicking the Finder icon in your Dock. Then click Applications in the left sidebar of the Finder window that opens.
- Then open the App Store.
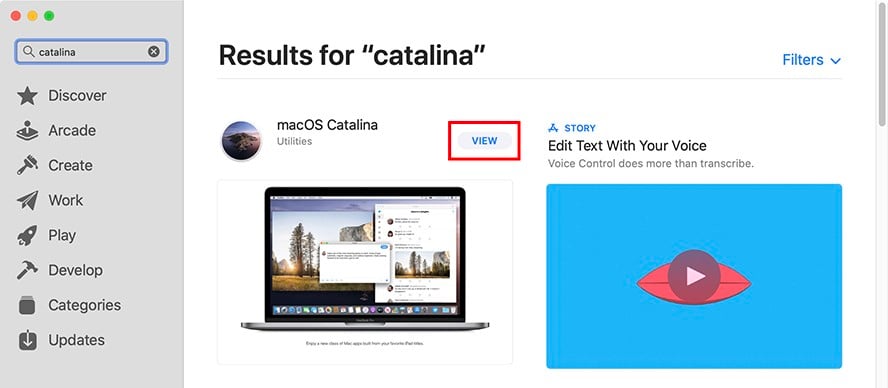
- Search for the OS you want to install on your bootable USB. The most recent OS is called Catalina. Before that, there was Mojave, High Sierra, Sierra, El Capitan, Yosemite, and Mavericks.
- Then click View when you find the right OS.
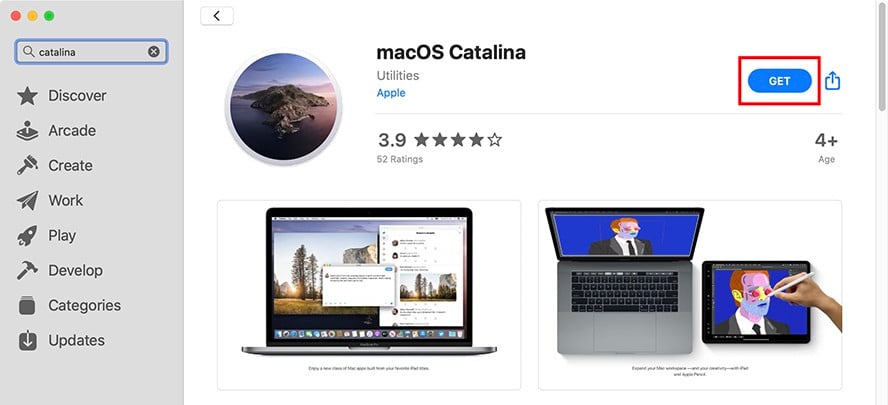
- Next, click Get.
- Then click Download in the pop-up window.
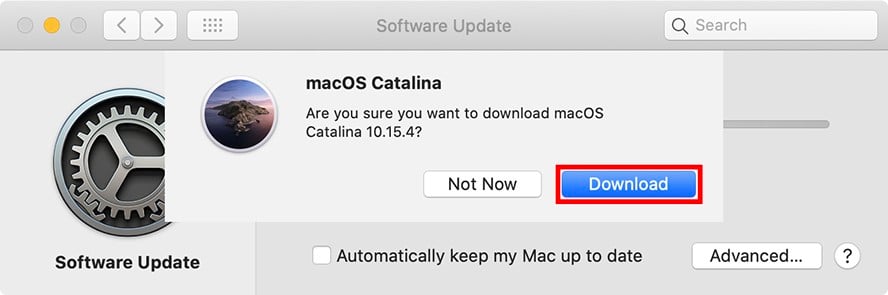
- Wait for the download to finish. This might take a few minutes. You will know the download is complete when you see an installation window for the macOS appear.
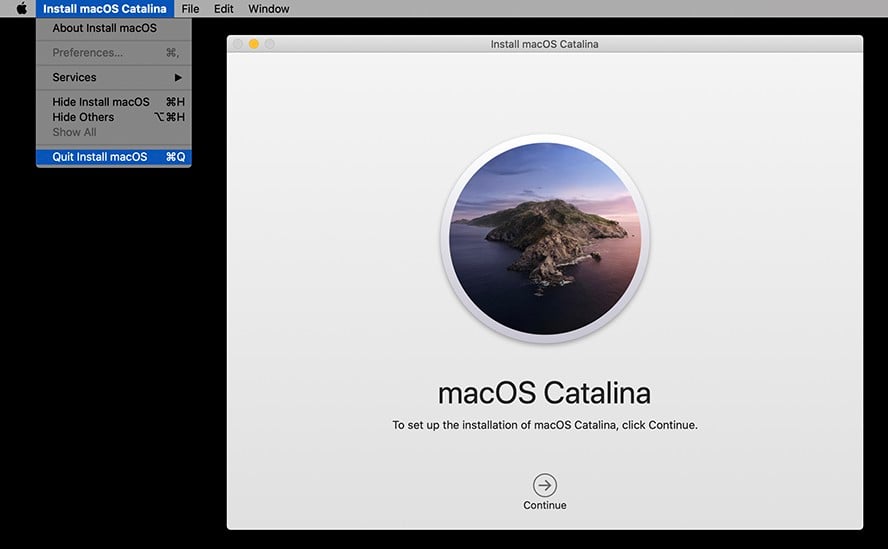
- Quit the Installation before clicking Continue. Click Install macOS Catalina in the top-left corner of your screen. Then select Quit install macOS.
- Insert a USB drive into your Mac’s USB port.
- Open a Finder window and go to Applications.
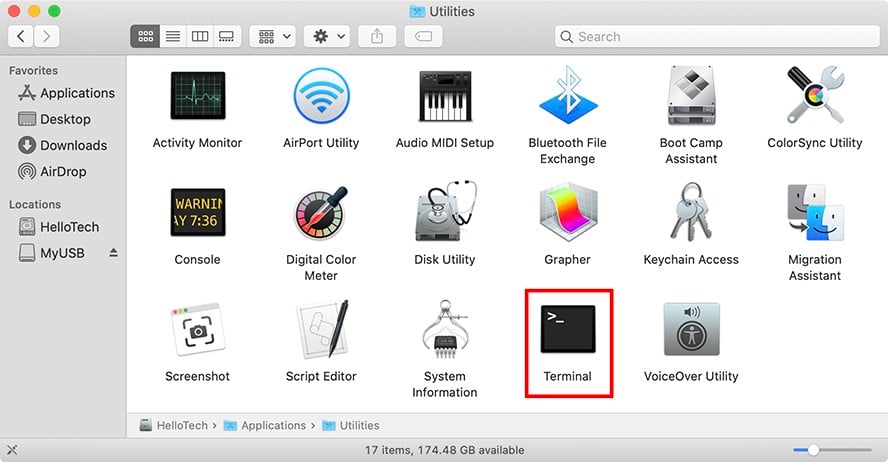
- Then open the Utilities folder.
- Select and launch Terminal.
- Type in the following commands, depending on your version of macOS. You need to replace “MyUSB” with the name of your USB drive, or you can rename your drive “MyUSB.” You can find the name of your USB drive in the left sidebar of a Finder window.
Catalina
sudo /Applications/Install\ macOS\ Catalina.app/Contents/Resources/createinstallmedia --volume /Volumes/MyUSB
Mojave
sudo /Applications/Install\ macOS\ Mojave.app/Contents/Resources/createinstallmedia --volume /Volumes/MyUSB
High Sierra
sudo /Applications/Install\ macOS\ High\ Sierra.app/Contents/Resources/createinstallmedia --volume /Volumes/MyUSB
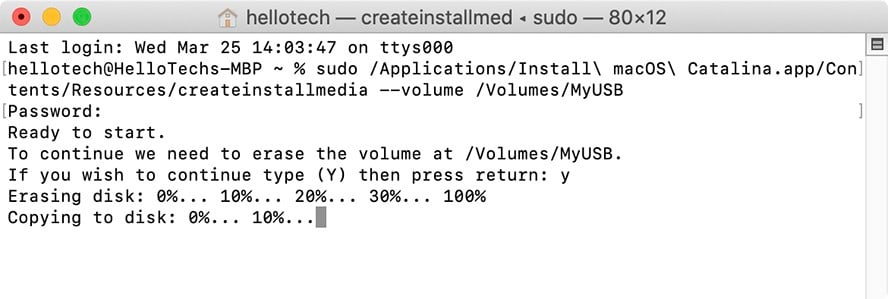
- Hit Enter on your keyboard after typing in the command.
- When prompted, enter your admin password and then hit Enter on your keyboard. Use the same password you use to sign in to your Mac.
- Hit the Y key on your keyboard when prompted. Be sure to check the name and path of your USB key before pressing the key. This will start the bootable drive creation process.
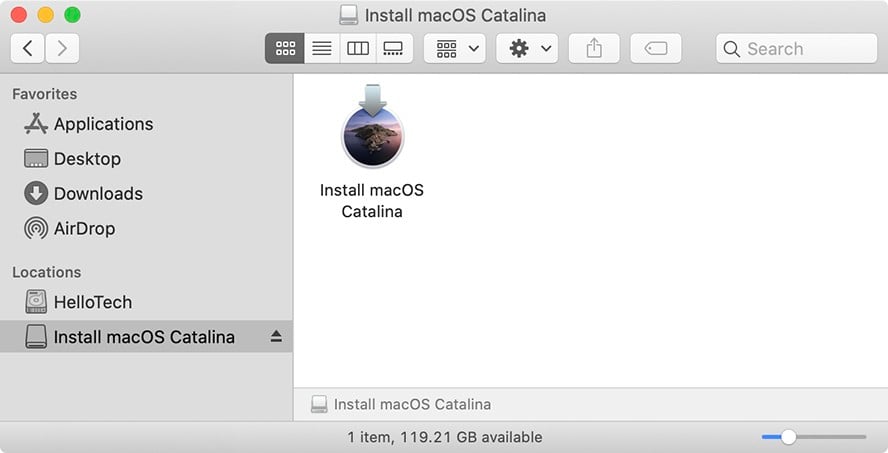
When Terminal says the process is done, that means the drive has been created. The USB will have the same name as the installer you downloaded. If you open the drive in Finder, you will see the installer.
- Finally, quit Terminal and eject the USB.
Now that you know how to make a bootable USB on a Mac, you can use it to install an OS on a computer without having to download it from the App Store.
If you’re having problems with your computer, check out our guide on how to factory reset a Mac.
HelloTech editors choose the products and services we write about. When you buy through our links, we may earn a commission.
