With a Mac, you can use keyboard shortcuts to take a screenshot of anything on your screen. That means you can quickly save text, share images, and show tech support what’s wrong with your computer. Here’s how to take a screenshot of your entire screen, a window, or any portion, and how to save the images to your Mac.
How to Take a Screenshot of the Entire Screen on a Mac
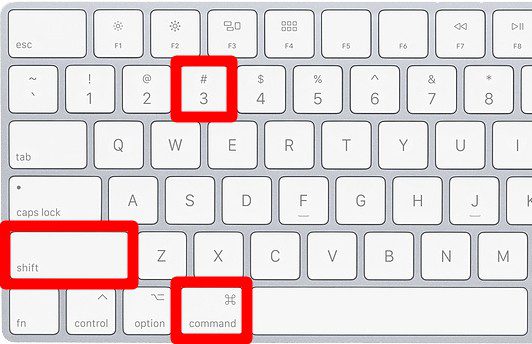
To quickly take a screenshot of the entire screen on your Mac, press the Command + Shift + 3 keys on your keyboard at the same time. You will then see a small preview of the screenshot in the bottom-right corner of your screen. If you do nothing, it will be saved to your desktop.
If you click the preview image, it will open a photo editor with a toolbar at the top of the window. This allows you to draw on your screenshot, add a shape, insert a signature, add text, and more.
If you wait for a few seconds, your screenshot will be saved to the desktop as a PNG file. You can save your screenshot faster by clicking and dragging it off the screen to the right. It will then be saved to your desktop instantly.
Read More: How to change where your screenshots are saved on your Mac
How to Take a Screenshot of a Portion of Your Screen on a Mac
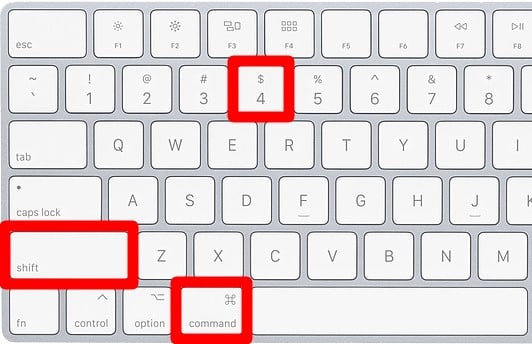
To take a screenshot of a portion of your screen on a Mac, press the Command + Shift + 4 keys on your keyboard at the same time. Then your mouse pointer will turn into a crosshair. Finally, click and drag your mouse to draw a box around the area of your screen you want to capture.
Once you let go of your mouse or trackpad, your Mac will take a screenshot of everything inside the box you drew.
You can also take a screenshot of a single window by pressing the Space Bar once after you press the Command + Shift + 4 keys on your keyboard. This will turn your mouse pointer into a camera icon.
Then left-click your mouse on any window to take a screenshot of it. You can tell which window you will capture because it will be highlighted in blue. This will even work if you are taking a screenshot of a window that is behind other windows.
How to Use the Screenshot Toolbar on a Mac
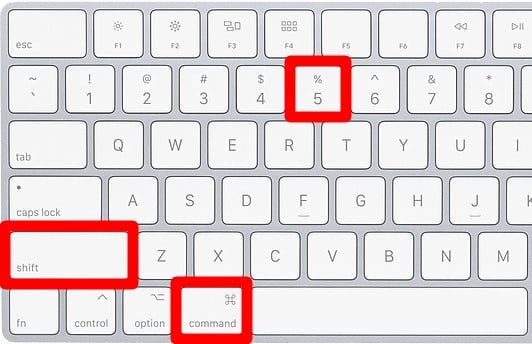
To use the screenshot toolbar on a Mac, press Command + Shift + 5. Then select one of the buttons in the toolbar at the bottom of your screen to take a screenshot of your entire screen, a portion of your screen, or a window. Finally, click the Capture button, hit Enter, or left-click your mouse.
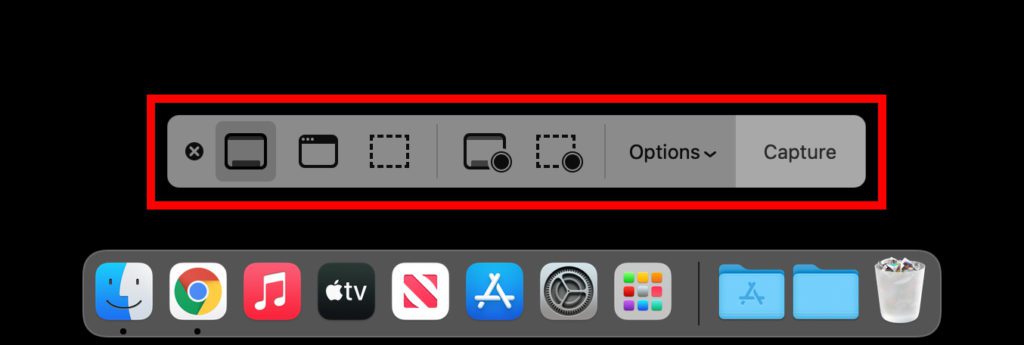
Once you press the Command + Shift + 5 keys on your keyboard at the same time, you will see a screenshot toolbar pop up at the bottom of your screen.
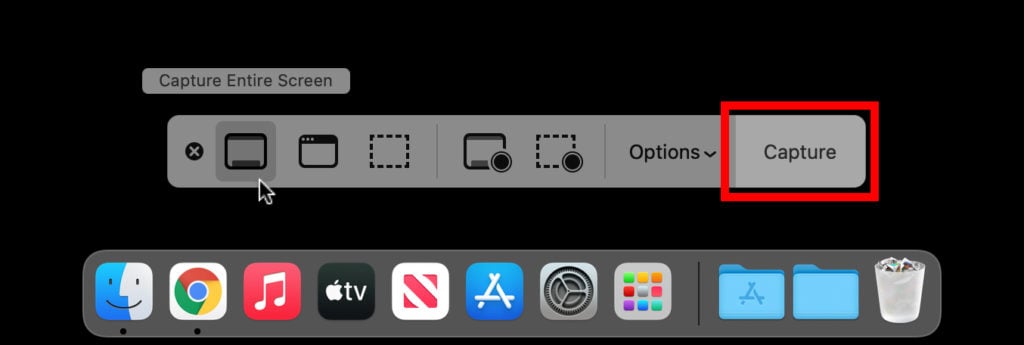
How to Use the Screenshot Toolbar to Capture Your Entire Screen
The first button in the toolbar will let you take a screenshot of your entire screen. Once you press this button, it will change your mouse pointer into a camera icon. Then you can click the Capture button in the toolbar, hit Enter on your keyboard, or left-click your mouse on any part of the screen.
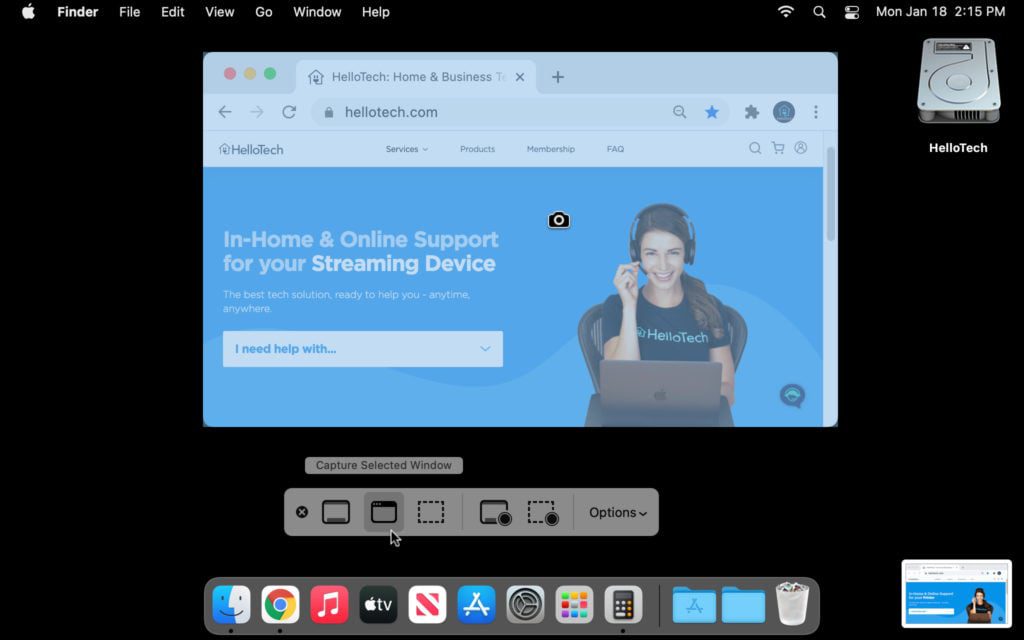
How to Use the Screenshot Toolbar to Capture a Selected Window
The second button in the toolbar lets you take a screenshot of a window, just like you can with the Command + Shift + 4 keyboard shortcut. Once you click this button, hover your mouse over the window you want to capture and left-click on the window or hit the Enter key on your keyboard.
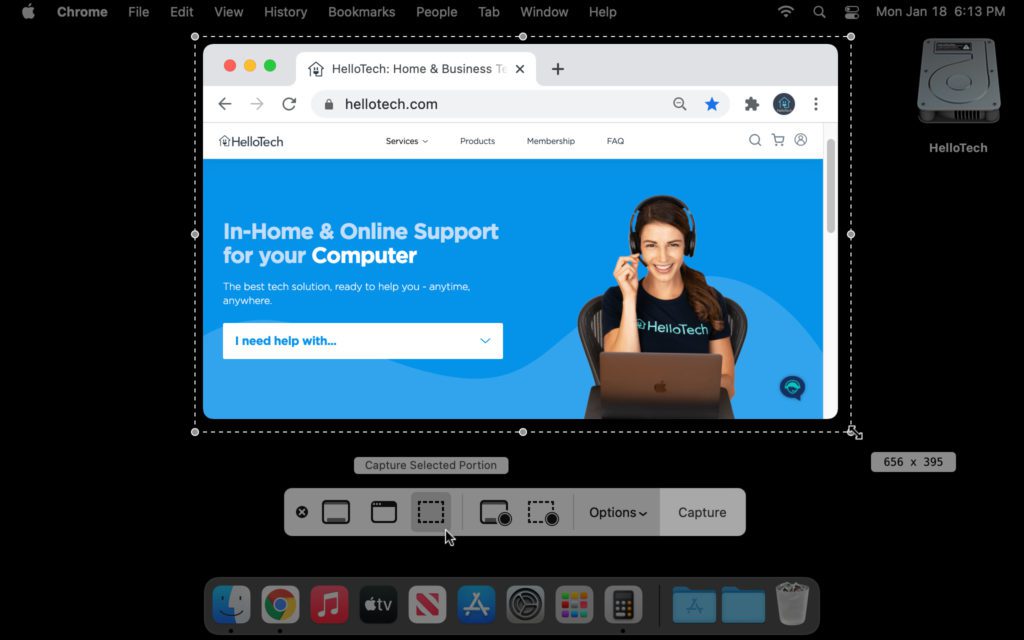
How to Use the Screenshot Toolbar to Capture a Portion of Your Screen
The third button on the toolbar lets you take a screenshot of a portion of your screen. Unlike the Command + Shift + 4 keyboard shortcut, clicking this button will make a dotted box appear on your screen. Then use your mouse to reposition the edges of the dotted box around the portion of the screen you want to capture. To take the screenshot, you can click Capture or hit the Enter key on your keyboard.
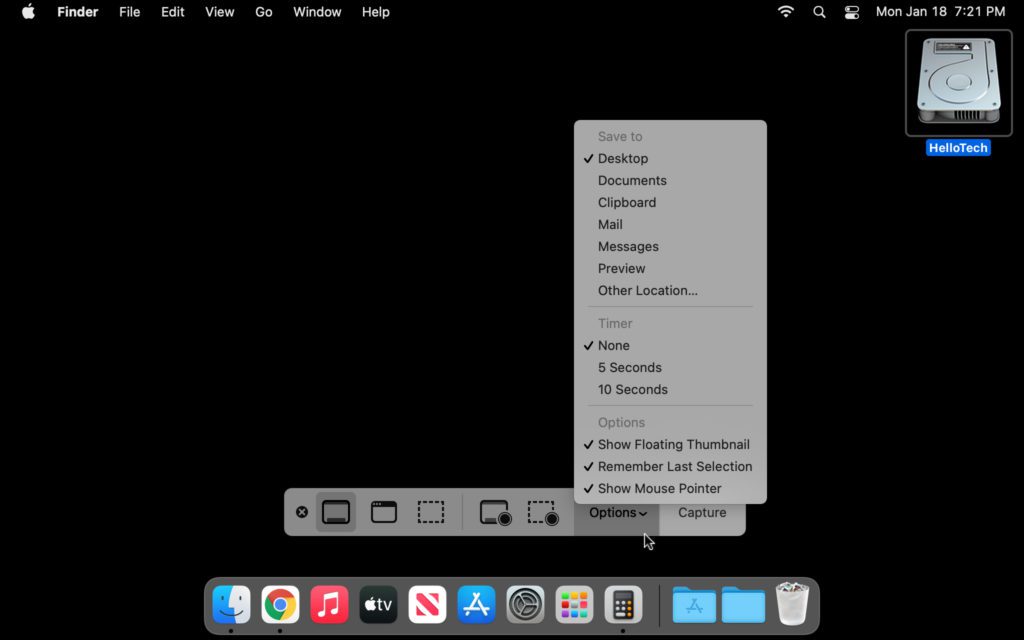
How To Change Settings in the Screenshot Toolbar on a Mac
Finally, you can click the Options button in the toolbar to change where your screenshots are saved, set a timer for your screenshots, and more.
Read More: How to record your Mac screen
